

Have you ever stood in the hot sauce aisle, reading labels and wondering if there's a better way? I just love hot sauce and spicy food, and having spicy and gut healthy at the same time is so good. What if I told you that you could make your own probiotic-rich hot sauce at home—one that's alive with beneficial bacteria and bursting with complex, fermented flavor?
Fermented hot sauce isn't just about heat. It's about transformation. When you ferment fresh peppers with salt and time, something magical happens: wild lactic acid bacteria convert sugars into tangy acids, creating depth and complexity that bottled hot sauces can only dream of. Plus, you're cultivating live lactic-acid bacteria with every batch.
In this guide, we'll explore how to make your own fermented hot sauce from scratch. Whether you're a fermentation beginner or a seasoned pepper enthusiast, you'll discover that this ancient preservation method is surprisingly simple—and the results are absolutely worth it.
#Why Ferment Your Hot Sauce?
You might be wondering: why go through the fermentation process when you could just blend peppers with vinegar and call it a day? Here's what makes fermented hot sauce special.
#The Flavor Transformation
Fermentation creates complexity that vinegar-based sauces simply can't match. As lactic acid bacteria work their magic over days or weeks, they develop layers of flavor—tangy, funky, deeply savory notes that complement the peppers' natural heat. The result is a hot sauce that's more nuanced, less one-dimensional, and frankly, more interesting.
Many hot sauce enthusiasts report that fermented versions have a rounder, more balanced heat. The fermentation process seems to mellow the harsh bite while preserving the peppers' essential character.
#The Probiotic Bonus
Every spoonful of fermented hot sauce delivers beneficial bacteria to your gut. Research suggests that diverse probiotic intake from fermented foods may support digestive health and overall wellbeing. While fermented hot sauce won't replace a varied diet of fermented foods, it's a delicious way to add more beneficial microbes to your meals.
If you're curious about how fermentation creates these beneficial bacteria, check out What Happens When Food Ferments? (And Why It's Kind of Magical) for a deeper dive into the science.
#The Creative Freedom
When you make your own hot sauce, you control everything: the pepper varieties, the heat level, the additional flavors (garlic, fruit, herbs), and the fermentation time. Want a smoky chipotle sauce? A tropical habanero-mango blend? A classic Louisiana-style cayenne? It's all possible.
#Essential Equipment for Fermented Hot Sauce
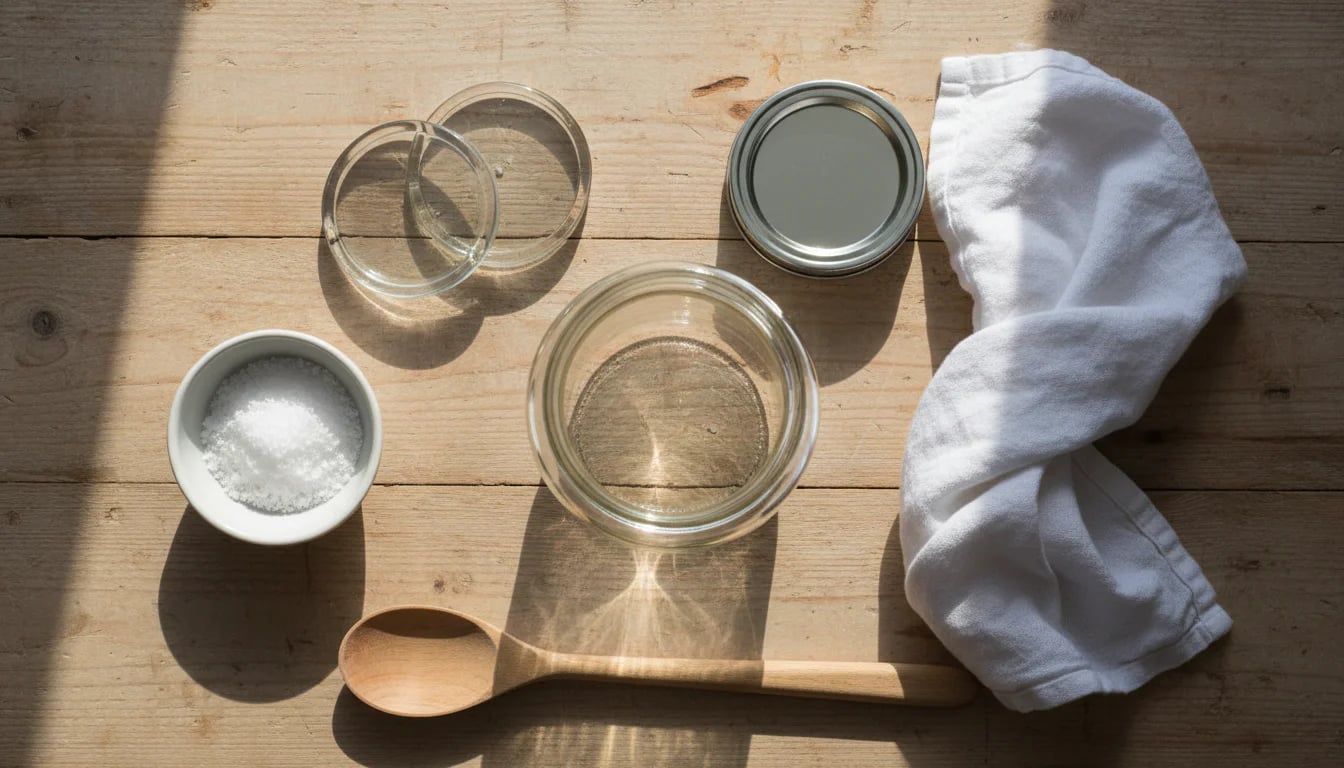
The beauty of fermented hot sauce is that you don't need specialized equipment. Here's what you'll want to gather:
#Fermentation Vessel
A wide mouth mason jar (quart size or larger) works perfectly for most batches. The wide opening makes it easy to add peppers and check on your ferment. If you're planning to make hot sauce regularly, you might consider a fermentation crock for larger batches.
#Fermentation Weights
Keeping your peppers submerged under the brine is crucial for preventing mold. Fermentation glass weights fit perfectly in wide mouth jars and keep everything safely below the surface. If you don't have weights, a small glass jar or a zip-lock bag filled with brine can work in a pinch.
#Airlock or Loose Lid
You have options here. An airlock system allows carbon dioxide to escape while keeping oxygen out, creating ideal anaerobic conditions. However, many fermenters successfully use a loose-fitting lid or even a cloth secured with a rubber band. The key is allowing gases to escape while minimizing oxygen exposure.
Wondering which method is right for you? Read Airlock vs Open Fermentation: Which Method Does Your Ferment Actually Need? for a detailed comparison.
#Blending Equipment
After fermentation, you'll need to blend your peppers into sauce. A standard blender works fine, though a high-powered blender creates a smoother consistency. A food processor can work too, though the texture will be slightly chunkier.
#Other Helpful Tools
- Kitchen scale: For precise salt measurements (2-3% by weight is ideal)
- Cutting board and knife: For chopping peppers and garlic
- Gloves: Highly recommended when handling hot peppers—trust me on this one
- Fine mesh strainer: If you prefer a smooth, seedless sauce
- Bottles for storage: Swing-top bottles or squeeze bottles work beautifully
#The Basic Fermented Hot Sauce Method
Let's walk through the fundamental process. Once you understand these basics, you can experiment endlessly with different peppers and flavor combinations.
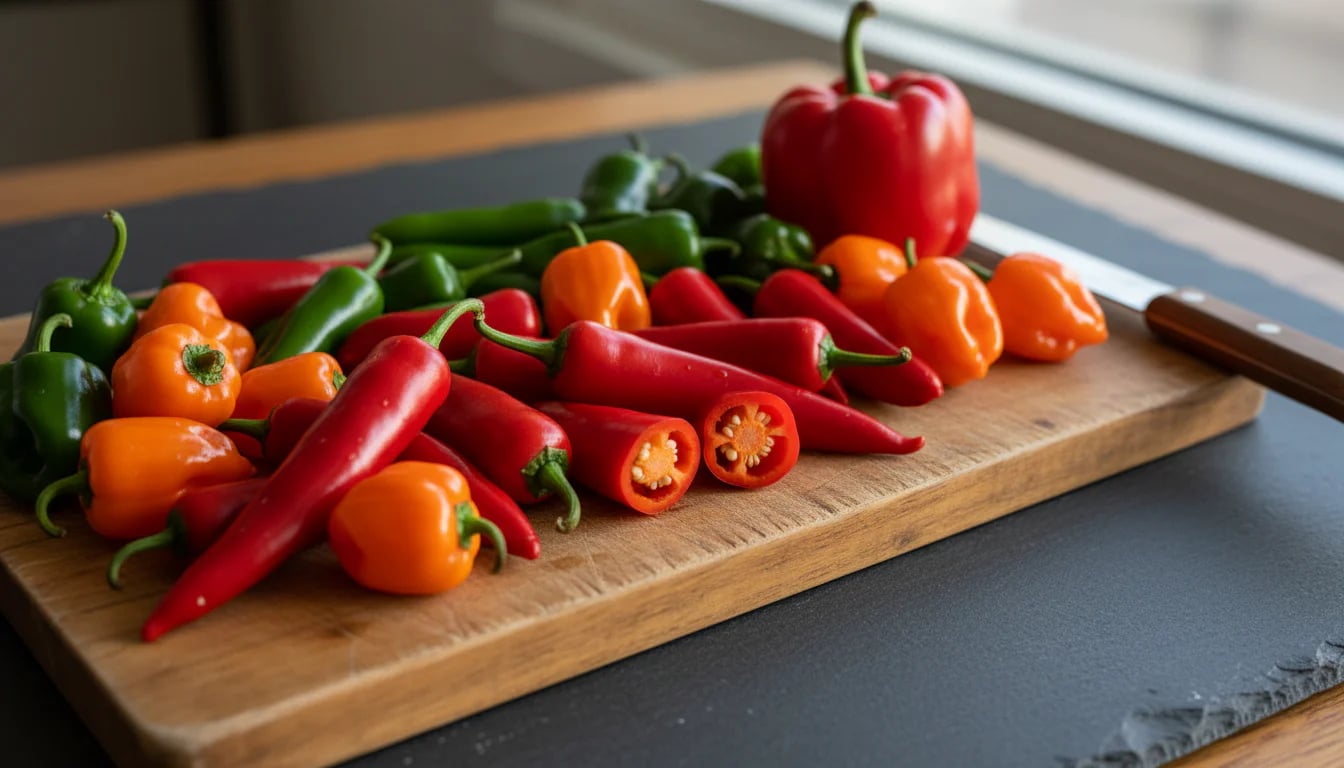
#Step 1: Choose Your Peppers
The pepper world is your playground. Here are some popular options:
- Jalapeños: Mild to medium heat, bright flavor, widely available
- Serranos: Medium heat, crisp and clean taste
- Cayenne: Classic hot sauce pepper, medium-high heat
- Habaneros: Intense heat with fruity notes
- Thai chilies: Small but mighty, sharp heat
- Bell peppers: No heat, but adds body and sweetness when blended with hot peppers
You can use a single variety or create your own blend. Many fermenters mix hot peppers with sweet peppers to balance heat with body.
#Step 2: Prepare Your Peppers
Wash your peppers thoroughly. You can leave them whole, halve them, or roughly chop them—it's up to you. Leaving them whole creates a milder ferment since less surface area is exposed. Chopping them speeds up fermentation and creates more intense flavor.
Important safety note: Wear gloves when handling hot peppers, especially if you're working with habaneros or hotter varieties. The capsaicin oils can burn your skin and are nearly impossible to wash off completely. And whatever you do, don't touch your eyes.
#Step 3: Make Your Brine
For fermented hot sauce you'll make a salt brine—and the key is measuring the salt against the water, not the peppers. Aim for about 3-3.5% salt by weight of water:
- Measure the water you'll need to cover your peppers
- Multiply that water weight by 0.03 (3%) up to 0.035 (3.5%)
- That's how much salt to dissolve in the water
For example: 1000 g (1 liter) of water × 0.03 = 30 grams of salt
Dissolve the salt fully in the water, then pour it over your peppers until they're completely submerged. Some fermenters instead salt the peppers directly — about 2-3% of the pepper weight — and let them release their own liquid, creating a "mash" style ferment. Both methods work beautifully; just remember to measure salt against the water for a brine, and against the peppers for a mash.
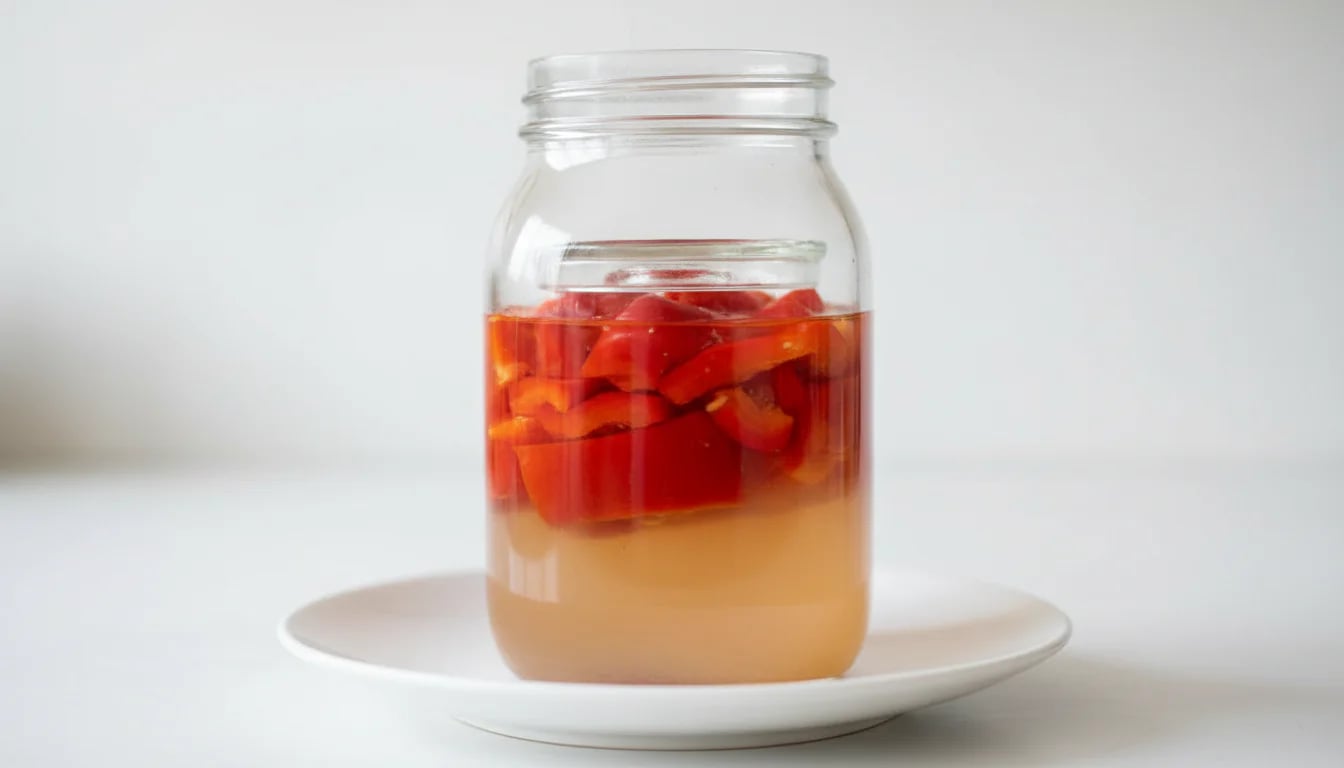
#Step 4: Pack Your Jar
Place your peppers in your fermentation vessel. Add any aromatics you're using—garlic cloves, onion chunks, fresh herbs. Pour the brine over everything, making sure all the peppers are submerged.
Place your fermentation weight on top to keep everything below the brine line. Leave about an inch of headspace at the top of the jar.
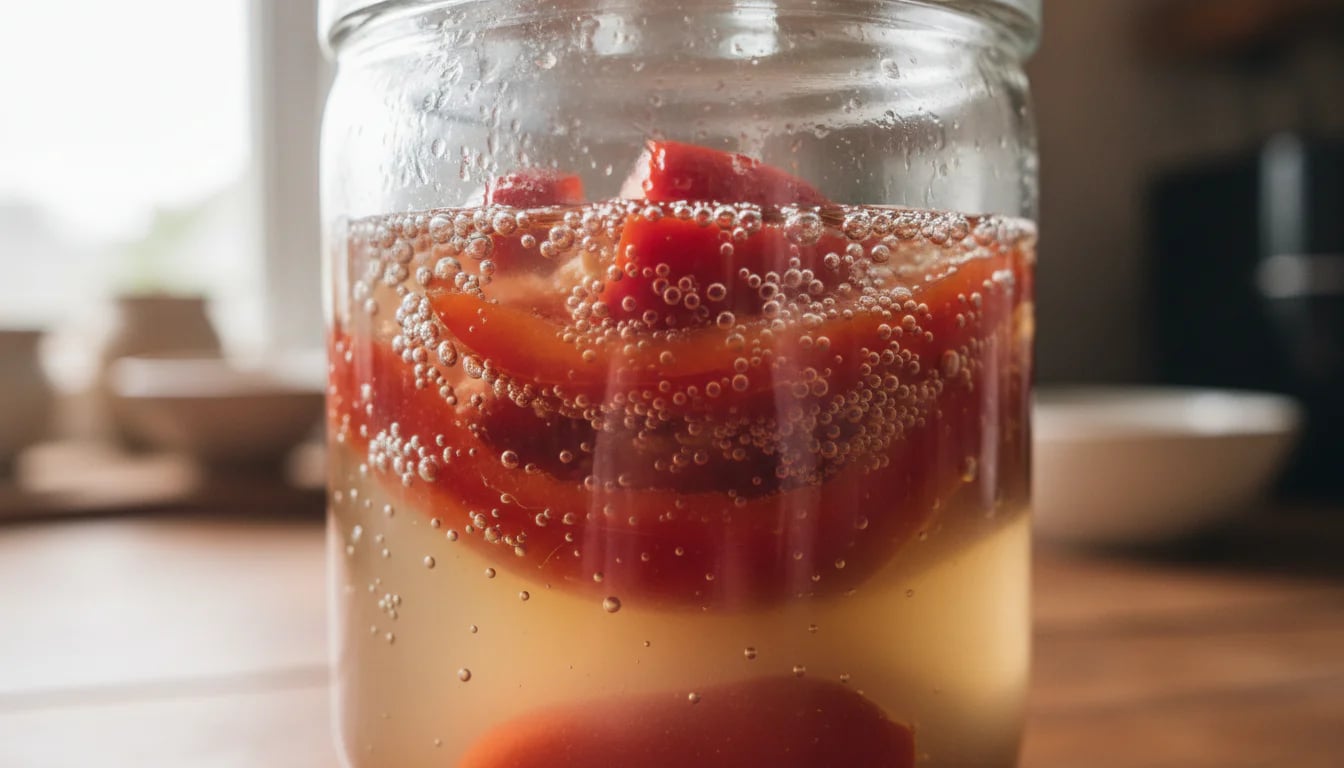
#Step 5: Ferment and Wait
Cover your jar with a lid (loosely fitted) or an airlock system. Place it somewhere at room temperature, away from direct sunlight. Now comes the hardest part: waiting.
Fermentation time varies based on temperature and personal preference:
- 5-7 days: Quick ferment, bright and tangy
- 2-3 weeks: Balanced ferment, more complex flavor
- 4-6 weeks: Deep ferment, funky and intense
You'll see bubbles forming within the first few days—that's the lactic acid bacteria at work. The brine may become cloudy. This is all normal and good.
For more guidance on fermentation temperatures and timing, see Fermentation Temperature Guide: The Complete Guide to Perfect Vegetable Ferments Every Time.
#Step 6: Blend Into Sauce
Once your fermentation is complete, it's time for the transformation. Strain out the peppers and aromatics, reserving the brine. You'll use some of this brine to adjust consistency later.
Add the fermented peppers to your blender. Start blending, adding reserved brine gradually until you reach your desired consistency. Some people like thick, chunky sauce. Others prefer it smooth and pourable. There's no wrong answer.
At this stage, you can also add:
- Vinegar: For extra tang and preservation (though the fermentation already provides acidity)
- Sweetener: A touch of honey or sugar to balance heat
- Spices: Cumin, coriander, smoked paprika
- Fresh herbs: Cilantro, basil, oregano
Taste as you go. This is your sauce—make it exactly how you want it.
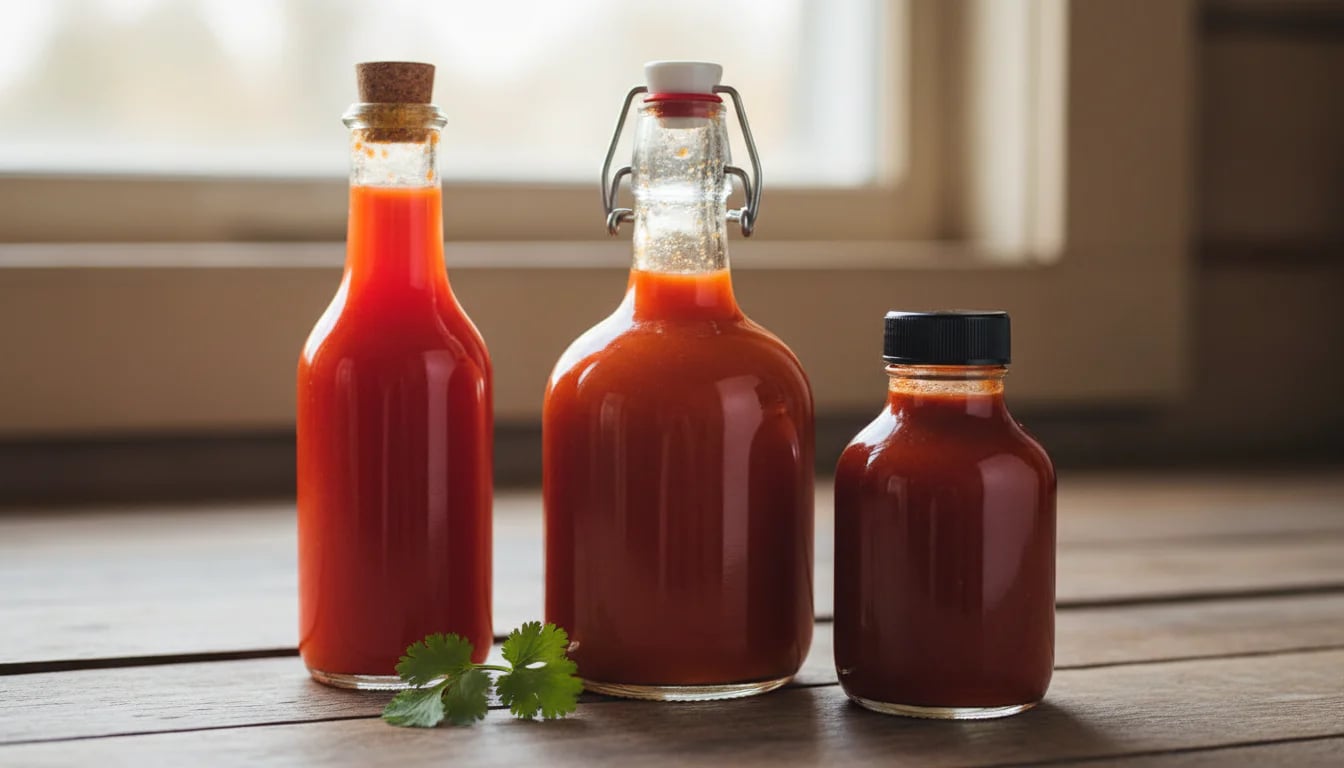
#Step 7: Bottle and Store
Before bottling, make sure active fermentation has calmed down (few or no new bubbles) and confirm the pH is stable at 4.0 or below — sealing a still-active ferment lets CO2 build up, which can make bottles leak or even burst. Then pour your finished hot sauce into clean bottles and refrigerate; it keeps for months, with the low pH (acidity) doing the preserving. Many fermented hot sauces even improve with age, developing more complex flavors over time.
Some fermenters prefer to strain their sauce through a fine mesh strainer for a completely smooth texture. Others embrace the rustic, slightly chunky consistency. Again, it's your call.
#Flavor Variations to Try
Once you've mastered the basic technique, the world of fermented hot sauce opens up. Here are some delicious directions to explore:
#Mexican-Inspired Hot Sauce
Ferment dried chile guajillo or chile de árbol with garlic, cumin, and a touch of Mexican oregano. The result is a deep, smoky sauce perfect for tacos and enchiladas. Check out this Mexican Fermented Hot Sauce with Chile Guajillo for a traditional approach.
#Asian-Style Sriracha
Ferment red jalapeños or Fresno peppers with garlic, then blend with a touch of sugar and rice vinegar. The result is remarkably close to the famous rooster sauce, but alive with probiotics. Try this Homemade Fermented Sriracha recipe for inspiration.
#Fruity Habanero Sauce
Ferment habaneros with mango, pineapple, or peach. The fruit's natural sugars feed the fermentation while adding tropical sweetness that balances the habanero's intense heat. This combination is absolutely magical on grilled fish or chicken.
#Smoky Chipotle Sauce
Ferment dried chipotle peppers (smoked jalapeños) with garlic and a touch of tomato. The smokiness intensifies during fermentation, creating a sauce that's perfect for barbecue and grilled meats.
#Green Hot Sauce
Ferment green jalapeños or serranos with tomatillos, cilantro, and lime. This creates a bright, tangy sauce similar to salsa verde but with the depth that only fermentation can provide.
#Troubleshooting Common Issues
Fermentation is generally forgiving, but occasionally things don't go as planned. Here's how to handle common challenges:
#White Film on the Surface (Kahm Yeast)
A white, filmy layer on top of your brine is usually kahm yeast—harmless but undesirable. It can make your sauce taste slightly off. If you catch it early, simply skim it off and make sure your peppers stay submerged. Using an airlock or keeping everything weighted down helps prevent this.
#Mold Growth
True mold (fuzzy, colored growth) means something went wrong—usually peppers exposed to air. If you see mold, it's safest to discard the batch and start over. Prevention is key: keep everything submerged and maintain proper salt levels.
#No Bubbling Activity
If you don't see bubbles after a few days, your fermentation might be too cold or your salt concentration too high. Move the jar to a warmer spot (ideally 65-75°F) and be patient. Sometimes fermentation starts slowly.
#Too Salty
If your finished sauce tastes too salty, you can dilute it with water, vinegar, or even fresh pepper puree. Blending in some fresh ingredients after fermentation can balance the salt while maintaining the probiotic benefits.
#Not Enough Heat
If your sauce isn't spicy enough, you can blend in some fresh hot peppers or add a pinch of cayenne powder to the finished sauce. Alternatively, use hotter peppers in your next batch.
For more fermentation troubleshooting tips, check out The Great Sauerkraut Swindle: How Big Food Is Selling You Dead Cabbage, which covers how to identify truly fermented products and avoid common pitfalls.
#Safety Considerations
Fermentation is remarkably safe when done properly, but it's worth understanding the basics:
#The Science of Safety
Lactic acid fermentation creates an acidic environment (pH below 4.6) that prevents the growth of harmful bacteria, including botulism. The salt brine and beneficial bacteria work together to create conditions where only good microbes thrive.
Research on lacto-fermentation indicates that properly fermented vegetables are among the safest preserved foods. The lactic acid bacteria outcompete potential pathogens, creating a protective environment.
#Trust Your Senses
Your nose and eyes are excellent safety tools. Fermented hot sauce should smell tangy, pleasantly funky, and appetizing. If it smells rotten, putrid, or truly offensive, something went wrong. Similarly, the appearance should be cloudy brine with no fuzzy mold growth.
#When in Doubt
If something looks or smells genuinely wrong—not just unfamiliar, but actually bad—it's okay to start over. Fermentation ingredients are inexpensive, and your peace of mind is worth more than a jar of peppers.
#pH Testing (Optional)
Before bottling, it's worth testing your finished sauce with pH strips (or a meter). A pH of 4.0 or below indicates successful fermentation and safe acidity; if it reads higher, keep fermenting or add a little vinegar to bring it down. Most fermented hot sauces fall between 3.0-4.0 pH.
#My Personal Hot Sauce Journey
I remember my first batch of fermented hot sauce vividly. I'd been making sauerkraut and kimchi for months, feeling confident in my fermentation skills. Hot sauce seemed like a natural next step—after all, I just love hot sauce and spicy food, and having spicy and gut healthy at the same time is so good.
I packed a quart jar with jalapeños, garlic, and a few habaneros for extra kick. The fermentation went beautifully—bubbles appeared within 24 hours, and the brine developed that characteristic cloudy, alive appearance. After two weeks, I blended everything together, tasted it, and was absolutely blown away.
The flavor was nothing like store-bought hot sauce. It had depth, complexity, a tangy funkiness that complemented the heat perfectly. The spiciness felt rounder, less harsh. I found myself putting it on everything—eggs, tacos, rice bowls, even stirred into soups.
But beyond the flavor, there was something deeply satisfying about the process itself. Watching those peppers transform, knowing that billions of beneficial bacteria were doing their work, feeling connected to an ancient preservation tradition—it added meaning to something as simple as hot sauce.
Now, I always have at least two or three varieties fermenting at any given time. Some batches are experiments that don't quite work out. Others become favorites that I make again and again. Each batch teaches me something new about fermentation, about flavor, about patience.
The best part? Sharing my fermented hot sauce with friends and family. Watching their faces light up when they taste something truly alive, truly different from anything they've had before. That moment of discovery—that's what keeps me fermenting.
#Using Your Fermented Hot Sauce
Now that you've created this live-fermented hot sauce, how do you use it? The possibilities are endless:
#Everyday Applications
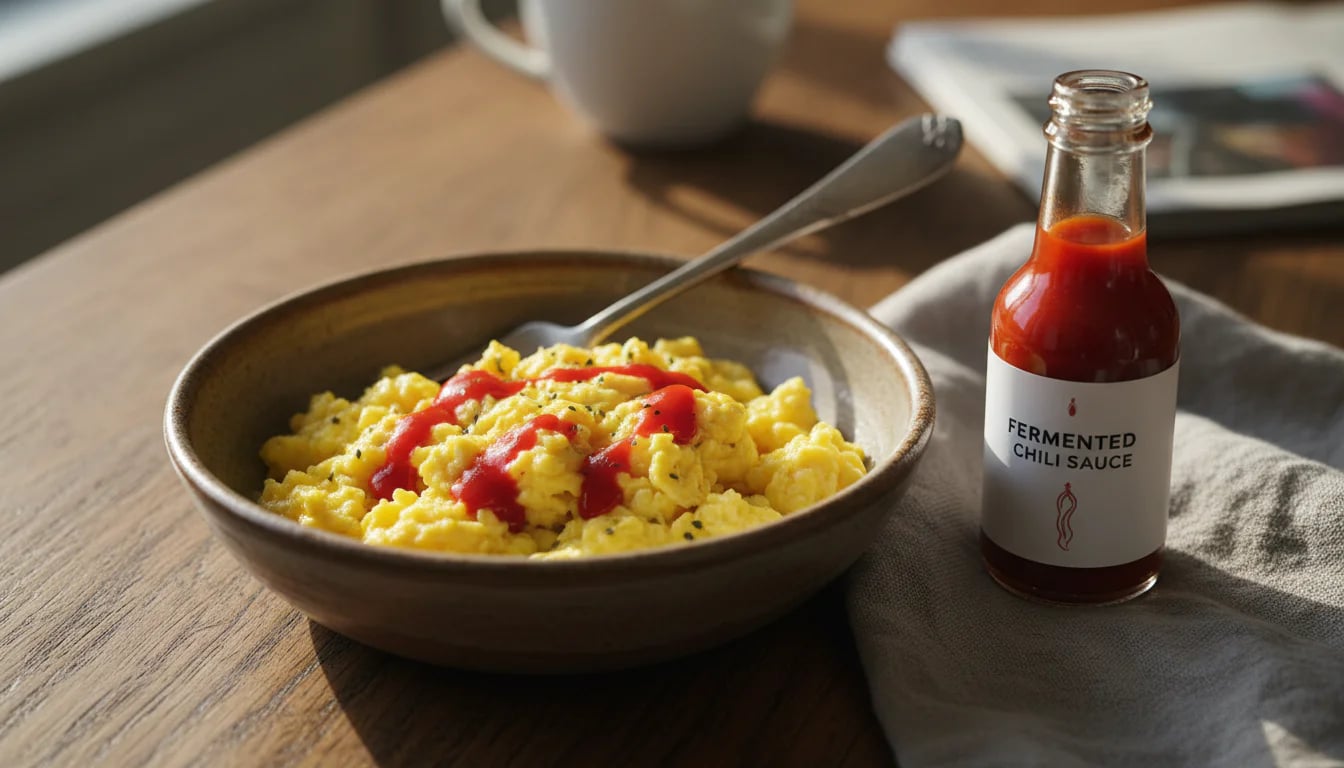
- Breakfast: Drizzle over scrambled eggs, omelets, or avocado toast
- Lunch: Add to sandwiches, wraps, or grain bowls
- Dinner: Use as a finishing sauce for grilled meats, roasted vegetables, or stir-fries
- Snacks: Mix into hummus, guacamole, or yogurt-based dips
#Cooking with Fermented Hot Sauce
While heat can kill the beneficial bacteria, fermented hot sauce still adds incredible flavor to cooked dishes. Use it in:
- Marinades for meat or tofu
- Salad dressings and vinaigrettes
- Soups and stews (add at the end to preserve the live cultures)
- Pasta sauces and pizza
If you want to preserve the probiotic benefits, add the sauce after cooking or use it as a condiment rather than cooking it directly.
#Gifting Fermented Hot Sauce
Homemade fermented hot sauce makes an incredible gift. Pour it into attractive bottles, add a handwritten label with the pepper varieties and fermentation date, and you have something truly special. Just make sure to include storage instructions (refrigerate after opening) and a note about the living nature of the sauce.
#Beyond Hot Sauce: Expanding Your Fermentation Practice
If you've caught the fermentation bug through hot sauce making, you're in for a treat. The same basic principles apply to countless other fermented foods:
- Fermented vegetables: Sauerkraut, kimchi, pickles, and more
- Fermented condiments: Mustard, ketchup, relish
- Fermented salsas: Fresh salsa that develops complex flavor over time
- Fermented pastes: Pepper pastes, curry pastes, miso-style pastes
Each fermentation project teaches you something new about flavor development, microbial activity, and the art of patience. The skills you develop making hot sauce translate directly to these other ferments.
For more inspiration, explore our collection of fermented vegetable recipes, from simple pickles to complex kimchi variations.
#Final Thoughts: The Joy of Living Hot Sauce
There's something profoundly satisfying about making your own fermented hot sauce. It's not just about saving money or avoiding preservatives (though those are nice benefits). It's about participating in a transformation, about cultivating life rather than just consuming products.
Every batch of fermented hot sauce is unique—influenced by the peppers you chose, the temperature of your kitchen, the wild bacteria in your environment, and the time you allowed for fermentation. No two batches are exactly alike, and that's part of the beauty.
You don't need to be an expert to start. You don't need expensive equipment or rare ingredients. You just need peppers, salt, water, and curiosity. The bacteria will do the rest.
So gather your peppers, find a jar, and start your first ferment. In a week or two, you'll have something truly special—hot sauce that's alive, complex, and uniquely yours. Your taste buds will thank you. Your gut will thank you. And you might just discover a new passion that connects you to thousands of years of fermentation tradition.
Happy fermenting, and may your hot sauce be forever spicy and probiotic-rich!


