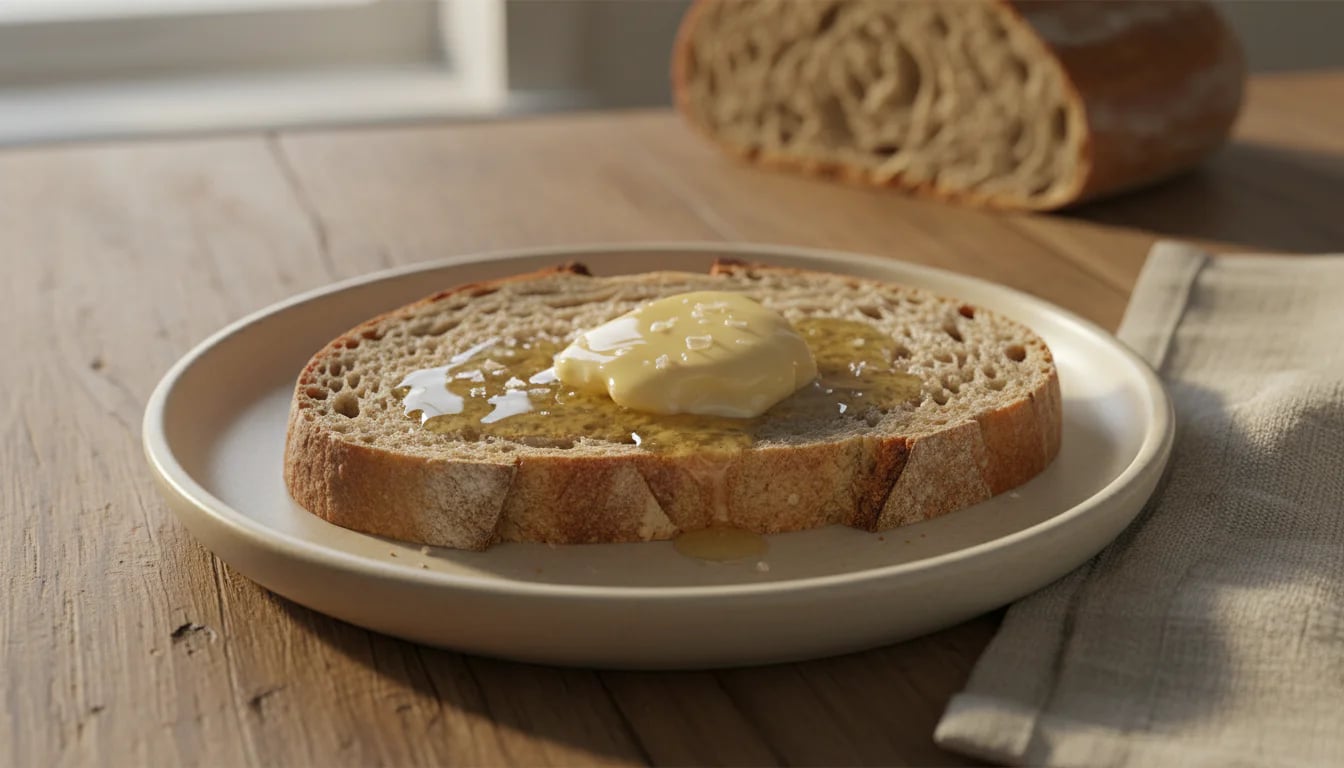
Have you ever tasted real cultured butter and wondered why it's so much more complex and delicious than regular butter? That tangy richness, the way it melts on warm bread with an almost cheese-like depth—that's the magic of fermentation at work.
I'll be honest: I used to think butter was just butter. Then I tried cultured butter at a farmer's market, and it completely changed my understanding. The vendor explained that she fermented her cream before churning, and suddenly everything made sense. That incredible flavor wasn't an accident—it was biology.
Today, let's explore why fermentation transforms ordinary cream into extraordinary butter, and how you can make it at home with surprisingly simple techniques.
#What Makes Cultured Butter Different?
Cultured butter starts with a fermentation step that regular butter skips entirely. Before churning, you introduce beneficial bacteria—typically Lactococcus lactis or Leuconostoc species—to heavy cream and let them work their magic for 12-24 hours.
During this time, these lactic acid bacteria consume lactose (milk sugar) and produce several compounds that transform the cream:
Lactic acid: Creates that characteristic tangy flavor and lowers the pH, which acts as a natural preservative
Diacetyl: The compound responsible for that buttery, slightly nutty aroma (yes, butter flavor comes from fermentation!)
Acetoin and other flavor compounds: Add complexity and depth that you simply can't get from sweet cream butter
The result? Butter that tastes more like itself—richer, more complex, with layers of flavor that unfold on your palate. It's the difference between a simple melody and a full orchestra.
This process is actually how butter was traditionally made for centuries. Before refrigeration, cream naturally fermented as it sat, and people churned what they had. Modern "sweet cream" butter is actually the newcomer—a product of industrial refrigeration that skips the fermentation step entirely.
#The Science of Better Butter
Let's talk about why fermentation doesn't just change the flavor—it actually makes better butter in several measurable ways.
#Enhanced Shelf Life
The lactic acid produced during fermentation lowers the pH of your butter from around 6.5 to approximately 4.5-5.0. This acidic environment inhibits the growth of spoilage bacteria and molds, meaning your cultured butter will stay fresh significantly longer than sweet cream butter.
Research on fermented dairy products has shown that this natural acidification is one of humanity's oldest food preservation techniques, and it's remarkably effective.
#Improved Digestibility
The fermentation process partially breaks down lactose and milk proteins, which can make cultured butter easier to digest for some people with mild dairy sensitivities. While it's not lactose-free (butter contains very little lactose to begin with), the bacterial pre-digestion can be helpful.
#Probiotic Potential
While churning and washing reduce bacterial counts, some beneficial bacteria do survive in the final butter, especially if you don't wash it extensively. These lactic acid bacteria are the same beneficial species found in other fermented foods, and they may contribute to gut health when consumed regularly.
#Superior Cooking Properties
The slightly lower pH and different fat crystal structure of cultured butter give it a higher smoke point and better browning characteristics. Pastry chefs often prefer cultured butter because it creates flakier pastries and more complex flavors in baked goods.
#How to Make Cultured Butter at Home
Ready to try it yourself? The process is surprisingly straightforward, though it does require some patience and the right setup.
#What You'll Need
Ingredients:
- 2 cups (480ml) heavy cream (preferably not ultra-pasteurized)
- 2-4 tablespoons cultured buttermilk, crème fraîche, or yogurt as your starter culture
- Salt (optional, to taste)
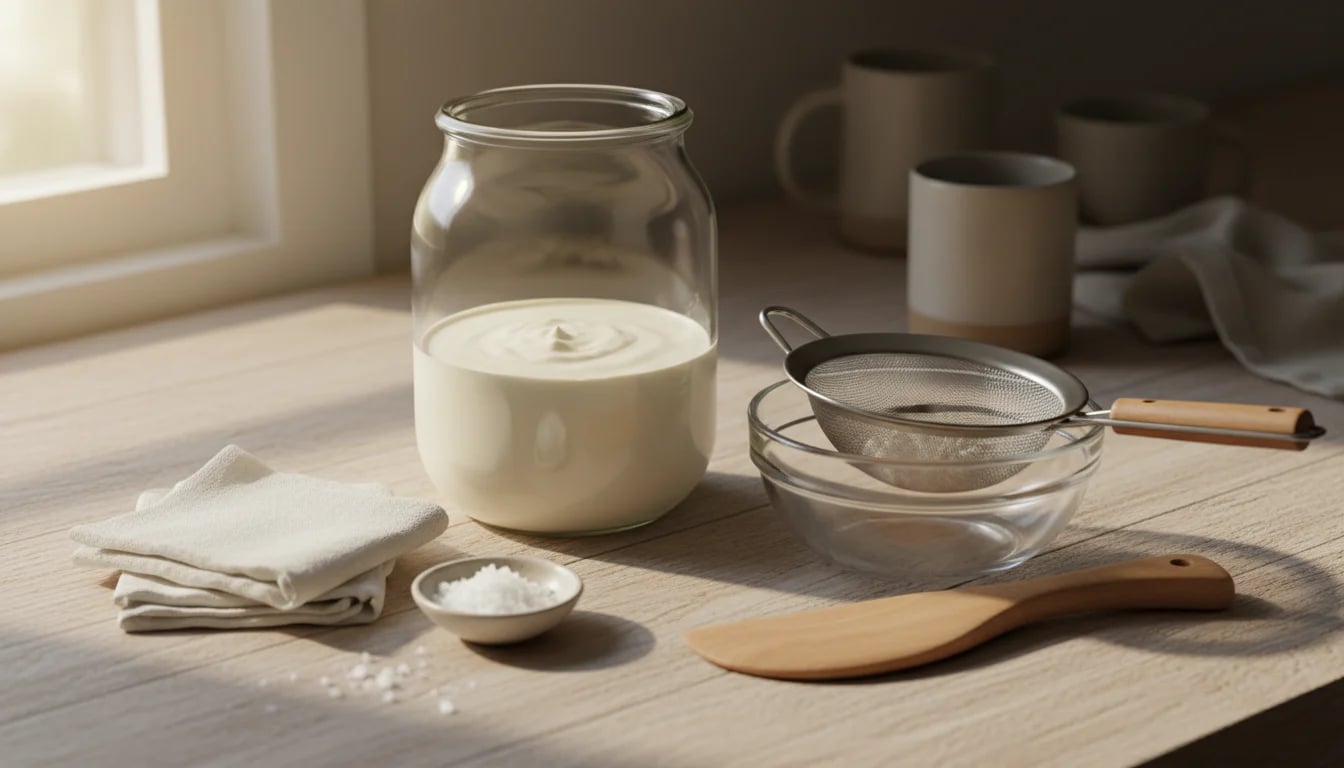
Equipment:
- A clean glass jar (quart-size works well)
- Cheesecloth or clean kitchen towel
- Stand mixer, food processor, or jar with tight lid for churning
- Fine mesh strainer
- Bowl for collecting buttermilk
- Butter paddles or spatula (for working the butter)
If you're new to fermentation, you might want to check out our guide on airlock vs open fermentation to understand different fermentation methods, though cultured butter uses a simple open fermentation approach.
#Step-by-Step Process
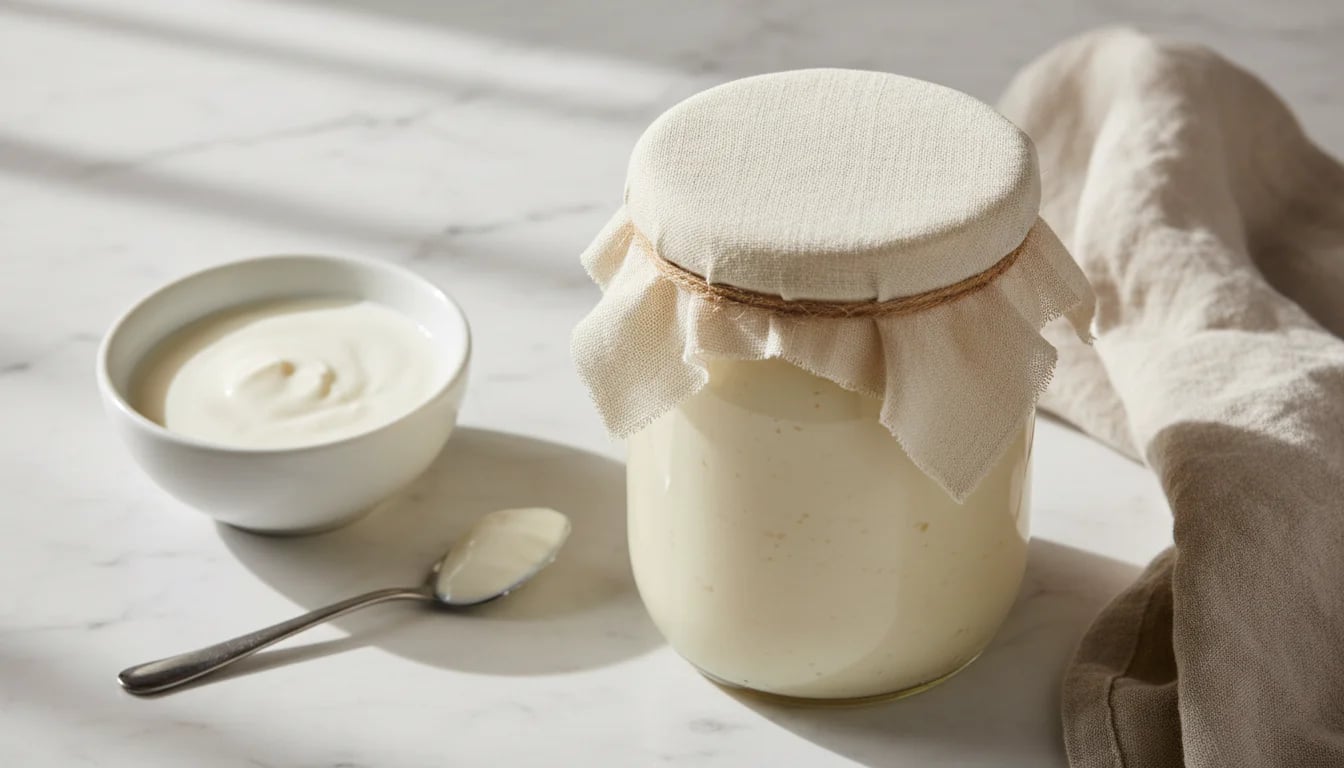
Step 1: Culture the Cream (12-24 hours)
Pour your heavy cream into a clean glass jar. Add your starter culture (buttermilk, crème fraîche, or yogurt) and stir gently to combine. The ratio isn't critical—2-4 tablespoons per 2 cups of cream works well.
Cover the jar with cheesecloth or a clean towel secured with a rubber band. This allows the culture to breathe while keeping out contaminants.
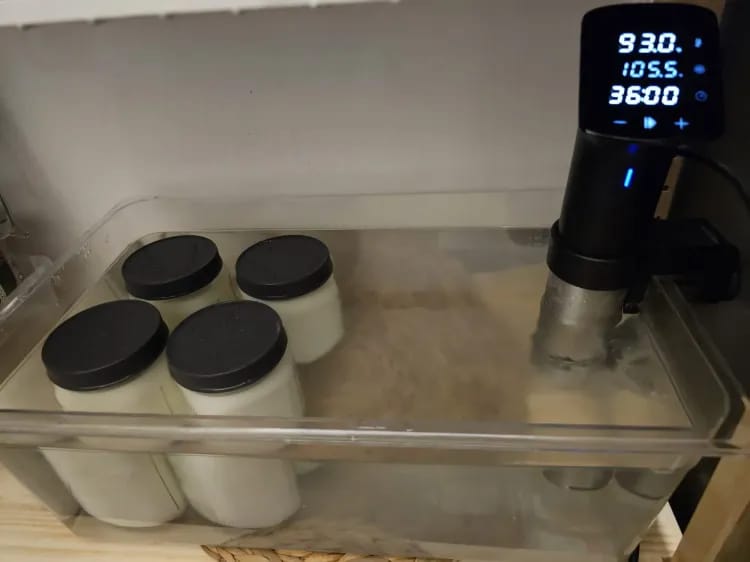
Let it sit at room temperature (65-75°F is ideal) for 12-24 hours. You'll know it's ready when the cream has thickened noticeably and smells tangy and pleasant—like crème fraîche or sour cream. If your kitchen is cool, it might take the full 24 hours. If it's warm, check after 12 hours.
Temperature matters more than you might think. For more on getting fermentation temperatures right, our fermentation temperature guide offers detailed insights, though it focuses on vegetables, the principles apply across fermentation types.
Step 2: Chill the Cultured Cream (2-4 hours)
Once your cream is properly cultured, refrigerate it for at least 2-4 hours, or until it's quite cold (around 50-60°F). This step is crucial—cold cream churns much more efficiently and produces better butter texture.
Step 3: Churn the Butter (5-15 minutes)
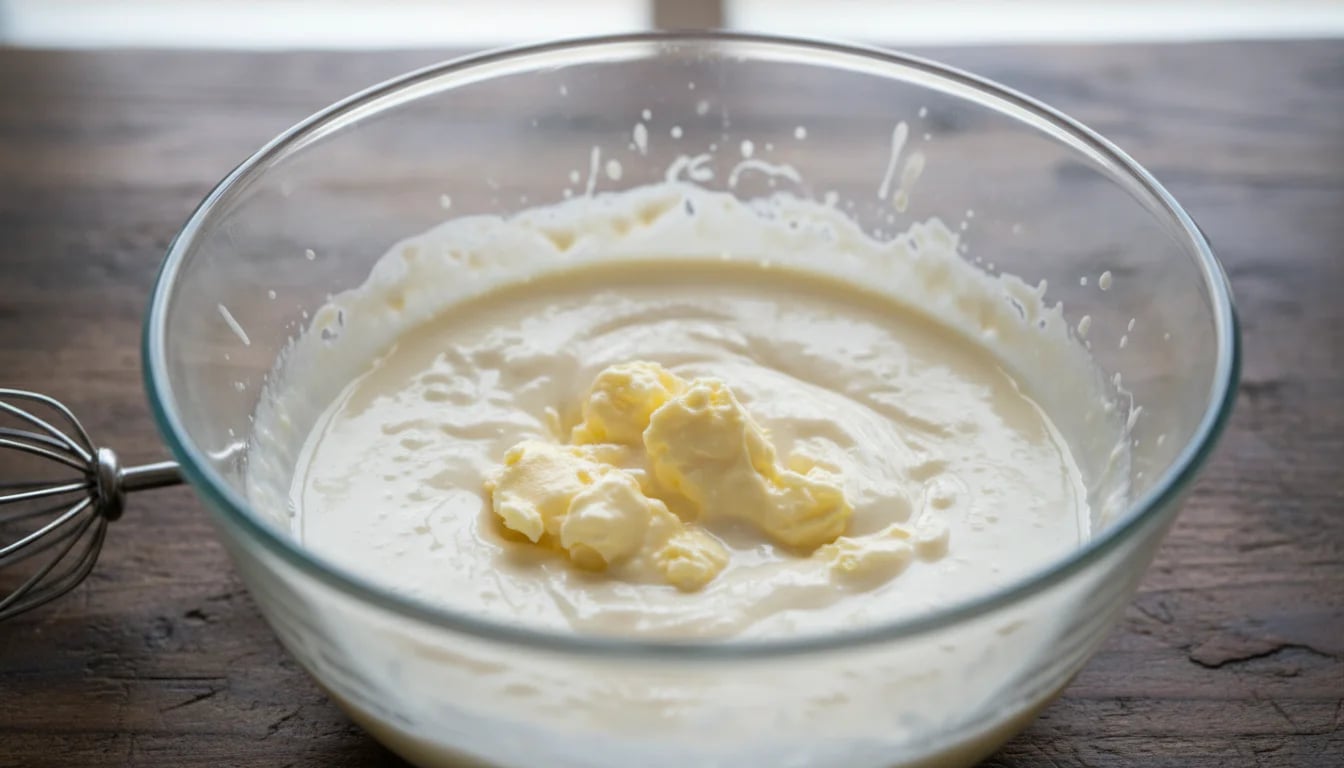
Now comes the fun part. Pour your cold cultured cream into your stand mixer bowl (with whisk attachment), food processor, or a jar with a tight-fitting lid.
If using a stand mixer: Start on medium-low speed and gradually increase. The cream will go through several stages—it'll become whipped cream first, then suddenly "break" and separate into butter solids and buttermilk. This usually takes 5-10 minutes.
If using a jar: Shake vigorously. This takes longer (10-15 minutes) but it's a great arm workout and very satisfying. You'll hear and feel the change when it breaks.
Be patient during this stage. You'll think nothing is happening, and then suddenly—splash!—you'll have butter and buttermilk.
Step 4: Drain and Wash (5 minutes)
Pour the contents through a fine mesh strainer over a bowl. Save that buttermilk! It's real, cultured buttermilk—perfect for baking or as a starter for your next batch.
Now you need to wash the butter to remove excess buttermilk, which would cause it to spoil faster. Place the butter in a bowl and pour ice-cold water over it. Use a spatula or butter paddles to press and fold the butter, squeezing out the milky liquid. Drain and repeat with fresh cold water 2-3 times, until the water runs clear.
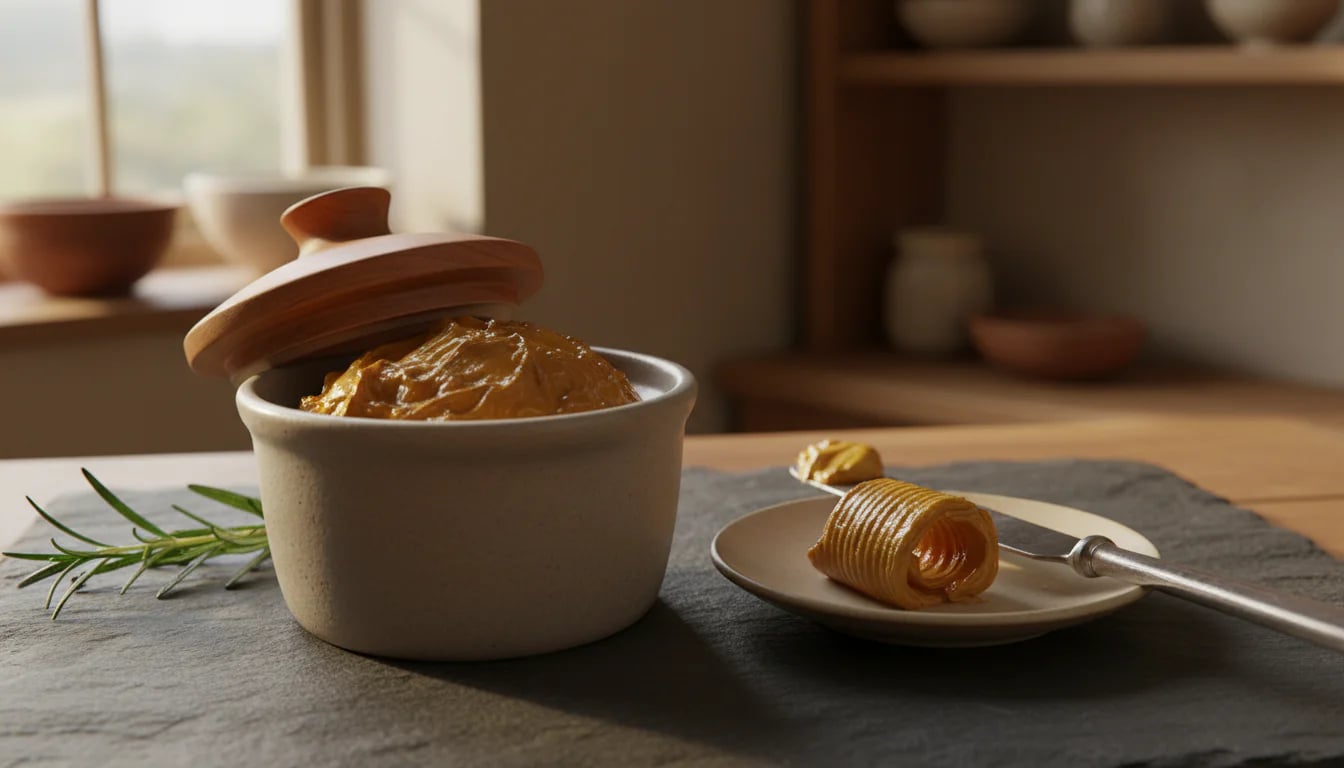
Step 5: Season and Store
If you want salted butter, now's the time. Sprinkle salt over your butter (start with 1/4 teaspoon per cup of butter) and work it in by pressing and folding.
Shape your butter however you like—press it into a ramekin, roll it into a log in parchment paper, or use butter molds if you're feeling fancy.
Store in the refrigerator for up to 3-4 weeks, or freeze for up to 6 months.
#Troubleshooting Common Issues
#The Cream Won't Thicken During Culturing
This usually means your starter culture wasn't active enough, or the temperature was too cold. Make sure you're using fresh, active buttermilk or yogurt (check the expiration date), and keep your cream in a warm spot—near a pilot light, on top of the refrigerator, or in a turned-off oven with the light on.
#The Butter Won't Form When Churning
If you've been churning for 20+ minutes with no butter, your cream probably wasn't cold enough. Refrigerate it for another hour and try again. Ultra-pasteurized cream can also be stubborn—try to find regular pasteurized cream if possible.
#The Butter Tastes Too Sour
You may have over-fermented the cream. Next time, check it at 12 hours and refrigerate it as soon as it smells pleasantly tangy. The fermentation continues slowly even in the fridge, so use your cultured cream within a day or two of refrigerating.
#The Butter Spoils Quickly
You probably didn't wash it thoroughly enough. Those milky residues contain sugars and proteins that spoil quickly. Make sure you wash until the water runs completely clear, and press out as much liquid as possible.
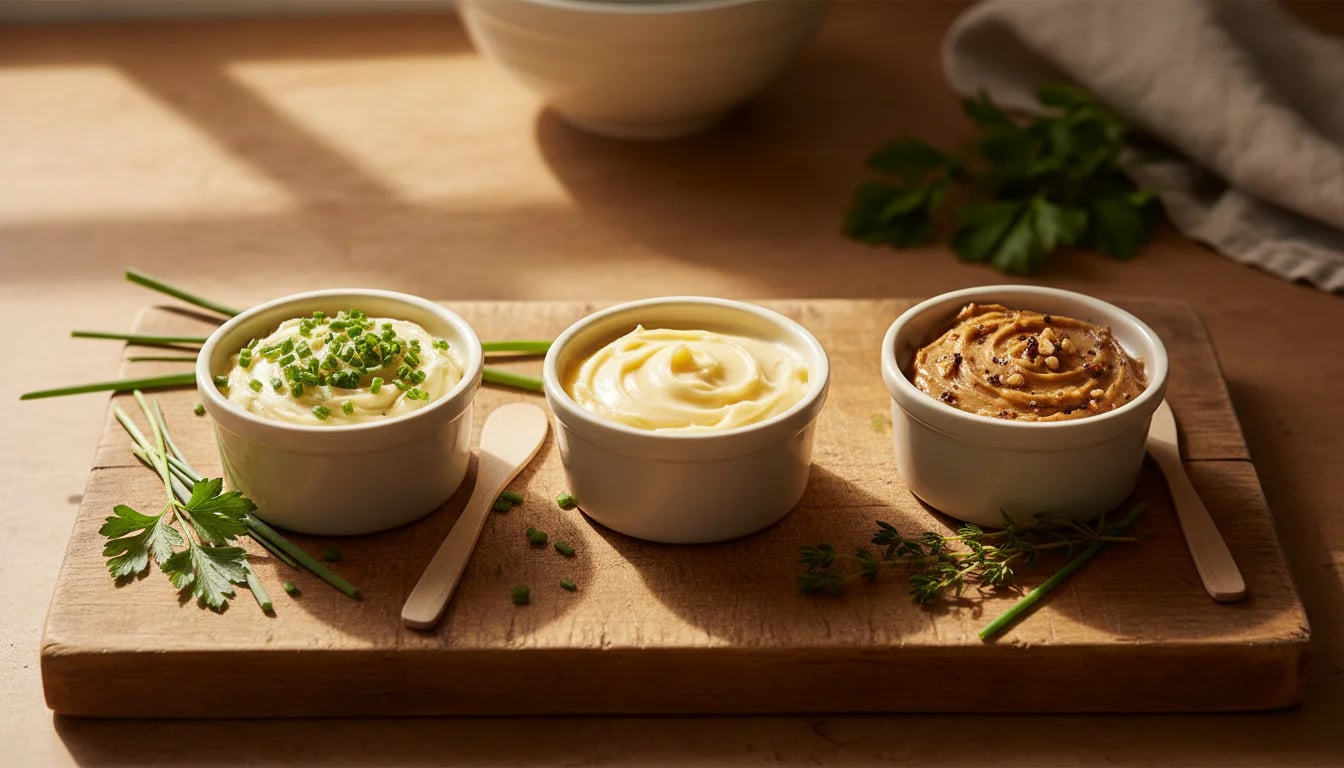
#Beyond Basic: Flavor Variations
Once you've mastered basic cultured butter, the world of flavored butters opens up. Here are some ideas:
Herb Butter: Fold in minced fresh herbs (chives, parsley, thyme, rosemary) after churning. The tangy cultured butter base makes herbs sing.
Garlic & Herb: Add roasted garlic paste and fresh herbs for a compound butter that's incredible on bread or steak.
Sweet Cultured Butter: Add a touch of honey and cinnamon for a breakfast butter that's amazing on toast or pancakes. The tang balances the sweetness beautifully.
Seaweed Butter: Fold in finely ground nori or dulse for an umami-rich butter that's perfect for seafood.
Miso Butter: Mix in a small amount of white miso paste for an incredibly savory, complex butter that's fantastic for vegetables or finishing dishes.
The tangy, complex base of cultured butter provides a much better foundation for these additions than sweet cream butter ever could.
#The Bigger Picture: Fermentation as Transformation
Making cultured butter is a beautiful introduction to fermentation because it's so immediate and tangible. You can see, smell, and taste the transformation that bacteria create.
This same principle—using beneficial microorganisms to transform and preserve food—underlies all fermentation. Whether you're making fermented vegetables, fermented hot sauce, or cultured butter, you're participating in an ancient partnership between humans and microbes.
Each fermentation project teaches you to trust the process, to recognize the signs of healthy fermentation, and to appreciate the complex flavors that only time and bacteria can create. If you're interested in understanding more about the beneficial bacteria that make fermentation possible, our gut microbiome guide explores how these same microorganisms support health inside and outside your body.
And here's something wonderful: once you've made cultured butter, you have real cultured buttermilk—which you can use to culture your next batch of cream, creating a continuous cycle. You can also use it in baking, where its acidity and flavor are far superior to the "cultured buttermilk" sold in stores (which is often just milk with acid added).
#My Personal Journey with Cultured Butter
I started making cultured butter almost by accident. I had over-bought cream for a recipe and didn't want it to go to waste. I remembered reading that you could culture cream, so I stirred in some yogurt and left it on the counter overnight.
The next morning, I had this thick, tangy cream that smelled incredible. I churned it in my food processor, and when I tasted that first bite of butter on warm toast, I actually laughed out loud. It was so much better than anything I'd bought—complex, tangy, rich, with this almost cheese-like depth.
What surprised me most was how easy it was. I'd built it up in my mind as this complicated, technical process, but it was really just: mix cream with culture, wait, churn, wash. The bacteria did all the hard work.
Now I keep a jar of cultured cream going most of the time. I use some for butter, some for coffee, some for cooking. It's become one of those small kitchen practices that makes me feel connected to food in a deeper way—like I'm participating in its transformation rather than just consuming it.
And every time I share cultured butter with friends, I see that same moment of surprise and delight when they taste it. That's the gift of fermentation—it turns ordinary ingredients into something extraordinary, and it invites us to slow down and pay attention to the magic happening right in our kitchens.
#Final Thoughts: The Joy of Making Better Butter
Cultured butter isn't just about making something that tastes better—though it absolutely does. It's about understanding that fermentation isn't mysterious or difficult. It's about recognizing that some of the best things in life require patience and partnership with the invisible world of beneficial bacteria.
You don't need special equipment or expertise. You need cream, a culture, time, and curiosity. The bacteria handle the transformation; you just create the conditions and witness the magic.
So if you've been curious about fermentation but felt intimidated, cultured butter is a perfect place to start. It's forgiving, fast (as fermentation goes), and the results are immediately, deliciously obvious.
Grab some cream, stir in some buttermilk or yogurt, and let it sit on your counter overnight. Tomorrow, you'll churn butter that tastes like nothing you've bought in a store—richer, tangier, more alive.
And once you've tasted what fermentation can do to butter, you'll start wondering what else you can transform. That's when the real adventure begins.
Happy fermenting, and may your butter always be golden and tangy.