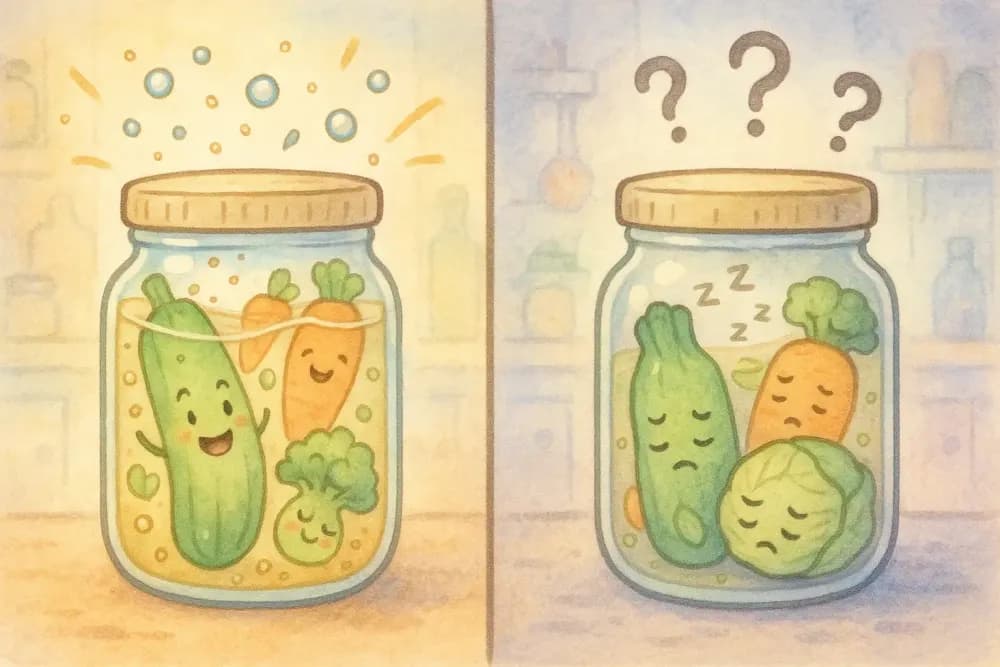
Is your ferment not bubbling after days of waiting? Don't throw it out! Learn the 7 most common reasons why fermentation isn't showing bubbles and discover simple fixes to save your batch.
Last updated: May 2025 | Reading time: 12 minutes
You've carefully prepared your sauerkraut, kimchi, or vegetable ferment, following every step of the recipe. But after several days of anxious waiting, you notice something troubling: no bubbles, no fizz, no visible fermentation activity. Before you declare your ferment a failure and toss that precious jar, let's explore why your ferment might not be bubbling and exactly how to fix it.
What Causes Bubbling in Fermentation? Understanding the Science
Fermentation bubbles are carbon dioxide (CO2) gas produced mainly during the early stage of fermentation by heterofermentative bacteria like Leuconostoc mesenteroides. (The Lactobacillus that take over later produce lactic acid but little gas — one reason bubbling fades while fermentation keeps going.) This process, called lacto-fermentation, creates the tangy flavor and probiotic benefits we love in fermented foods.
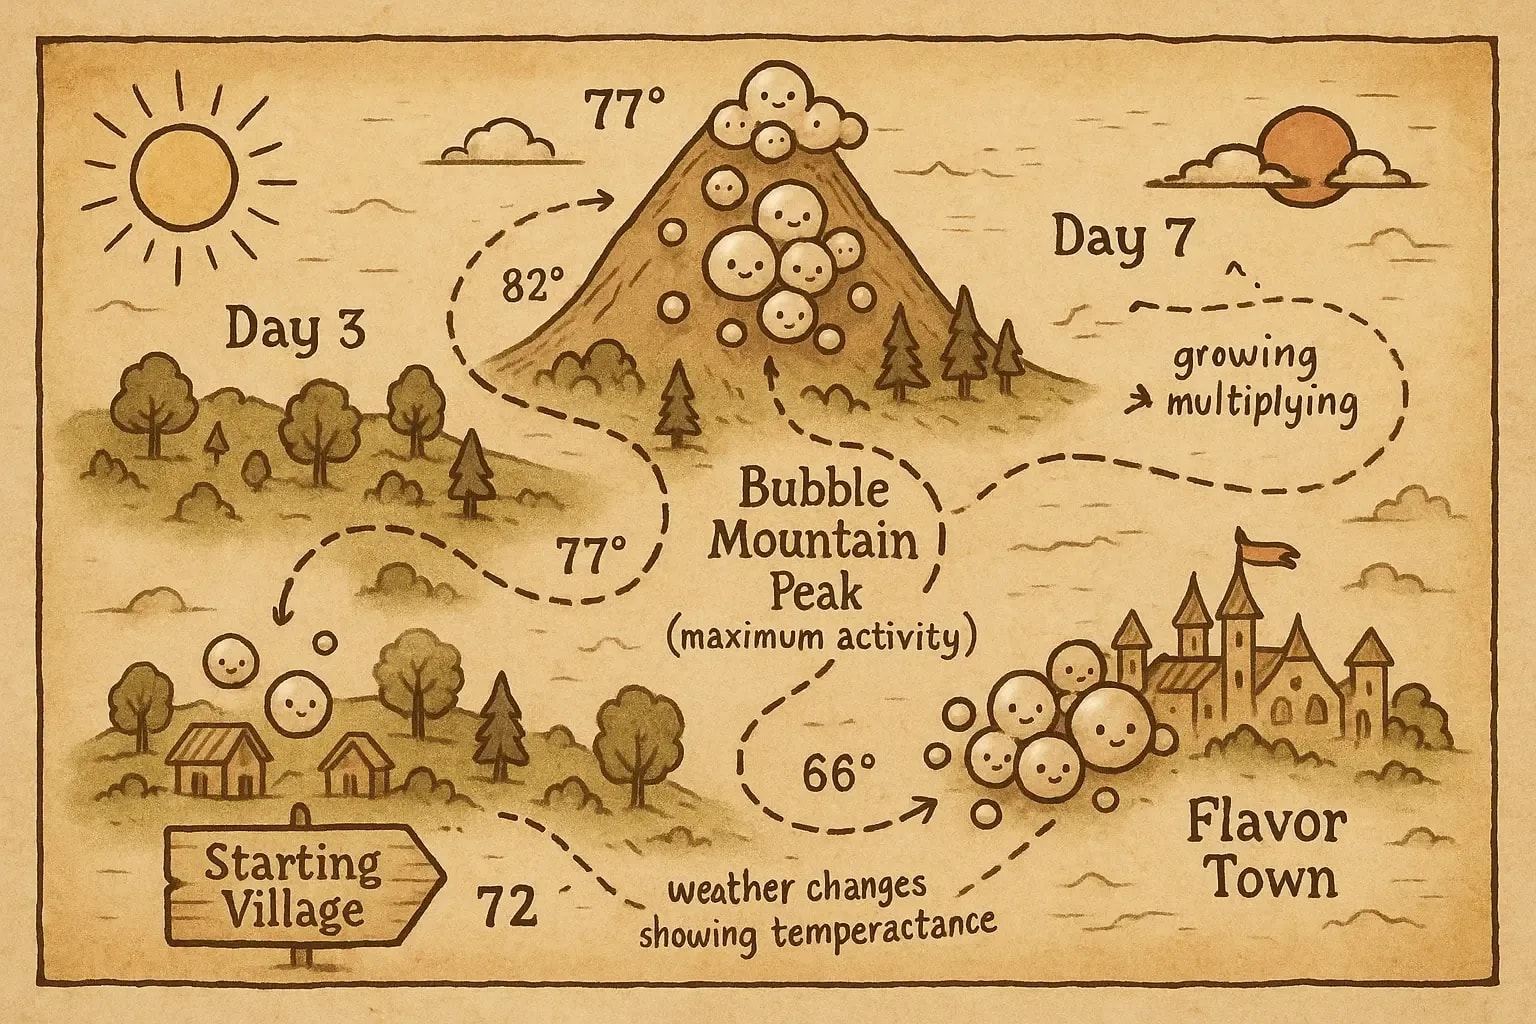
Key fact: Visible bubbling typically peaks during days 1-5 of fermentation, then naturally decreases. A lack of bubbles doesn't mean fermentation has stopped or failed.
7 Reasons Why Your Ferment Isn't Bubbling (And How to Fix Each One)
1. Temperature Too Low or Too High for Fermentation
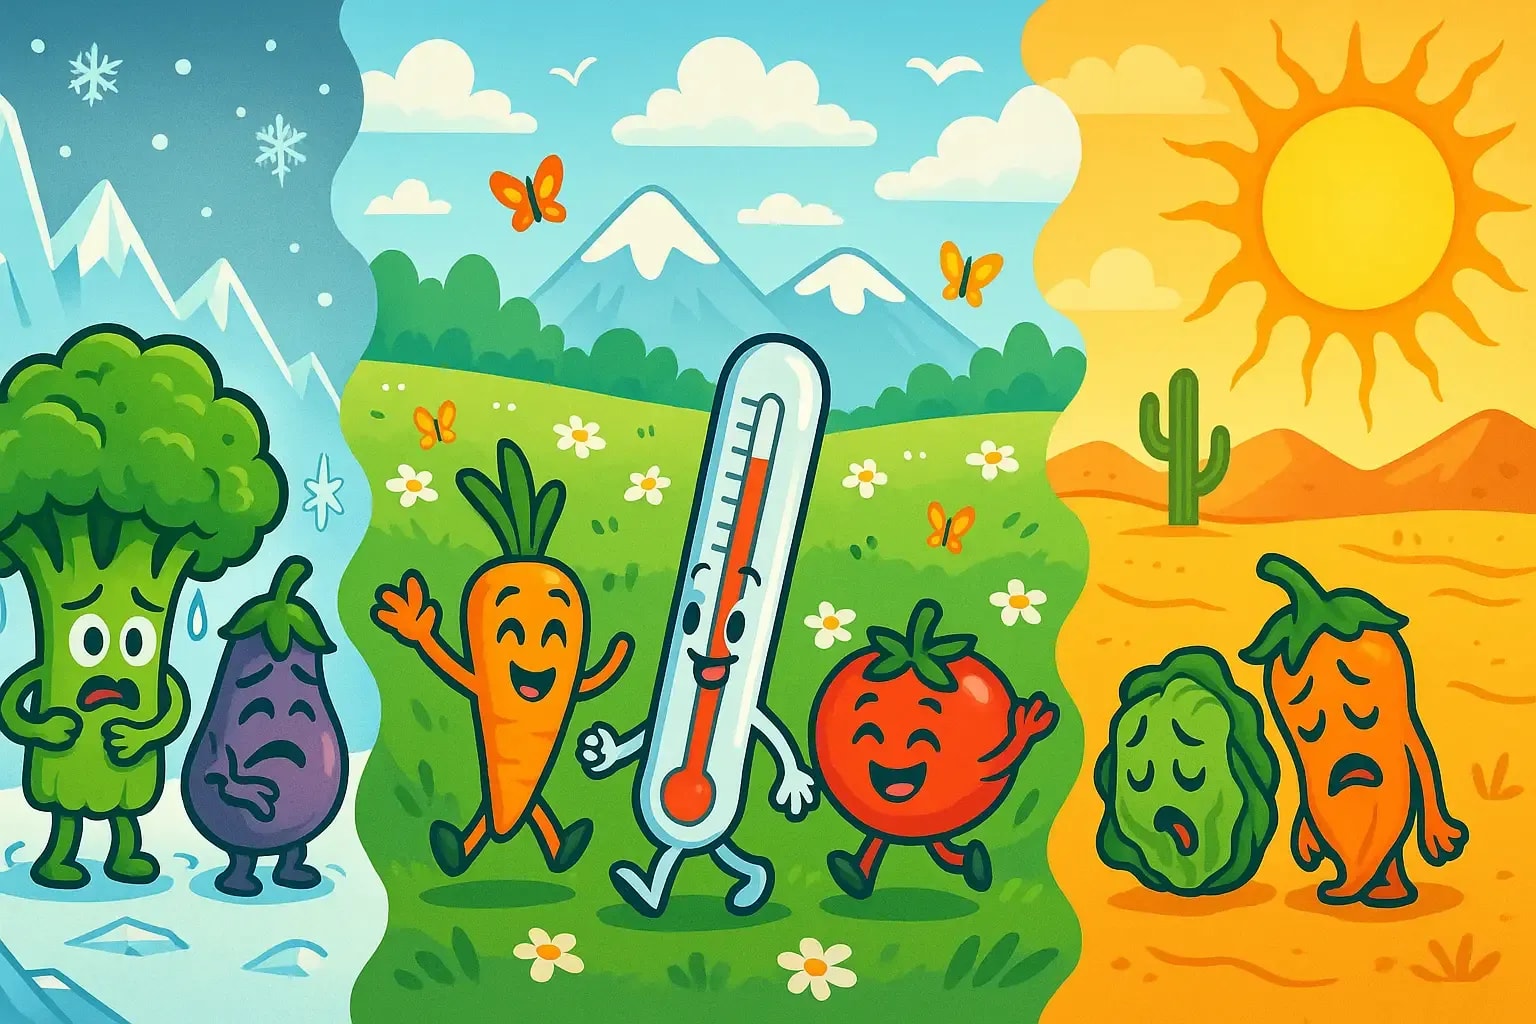
The Problem: Fermentation bacteria are temperature-sensitive. The ideal fermentation temperature range is 68-75°F (20-24°C).
- Below 65°F (18°C): Fermentation slows dramatically
- Above ~75-80°F: Soft/mushy texture and off-flavors, with more surface kahm/mold (kraut softens above ~75°F, pickles above ~80°F) — the bacteria aren't killed, the quality just suffers
The Fix:
- Move your ferment to a room-temperature location
- Use a thermometer to monitor ambient temperature
- Consider a fermentation heating mat in cold climates
- Keep ferments away from direct sunlight and heat sources
Pro tip: Kitchen counters away from appliances typically maintain ideal fermentation temperatures. For larger batches, traditional crocks like the Ohio Stoneware Fermentation Crock change temperature more slowly than glass jars thanks to their greater thermal mass.
2. Wrong Salt Concentration in Your Ferment
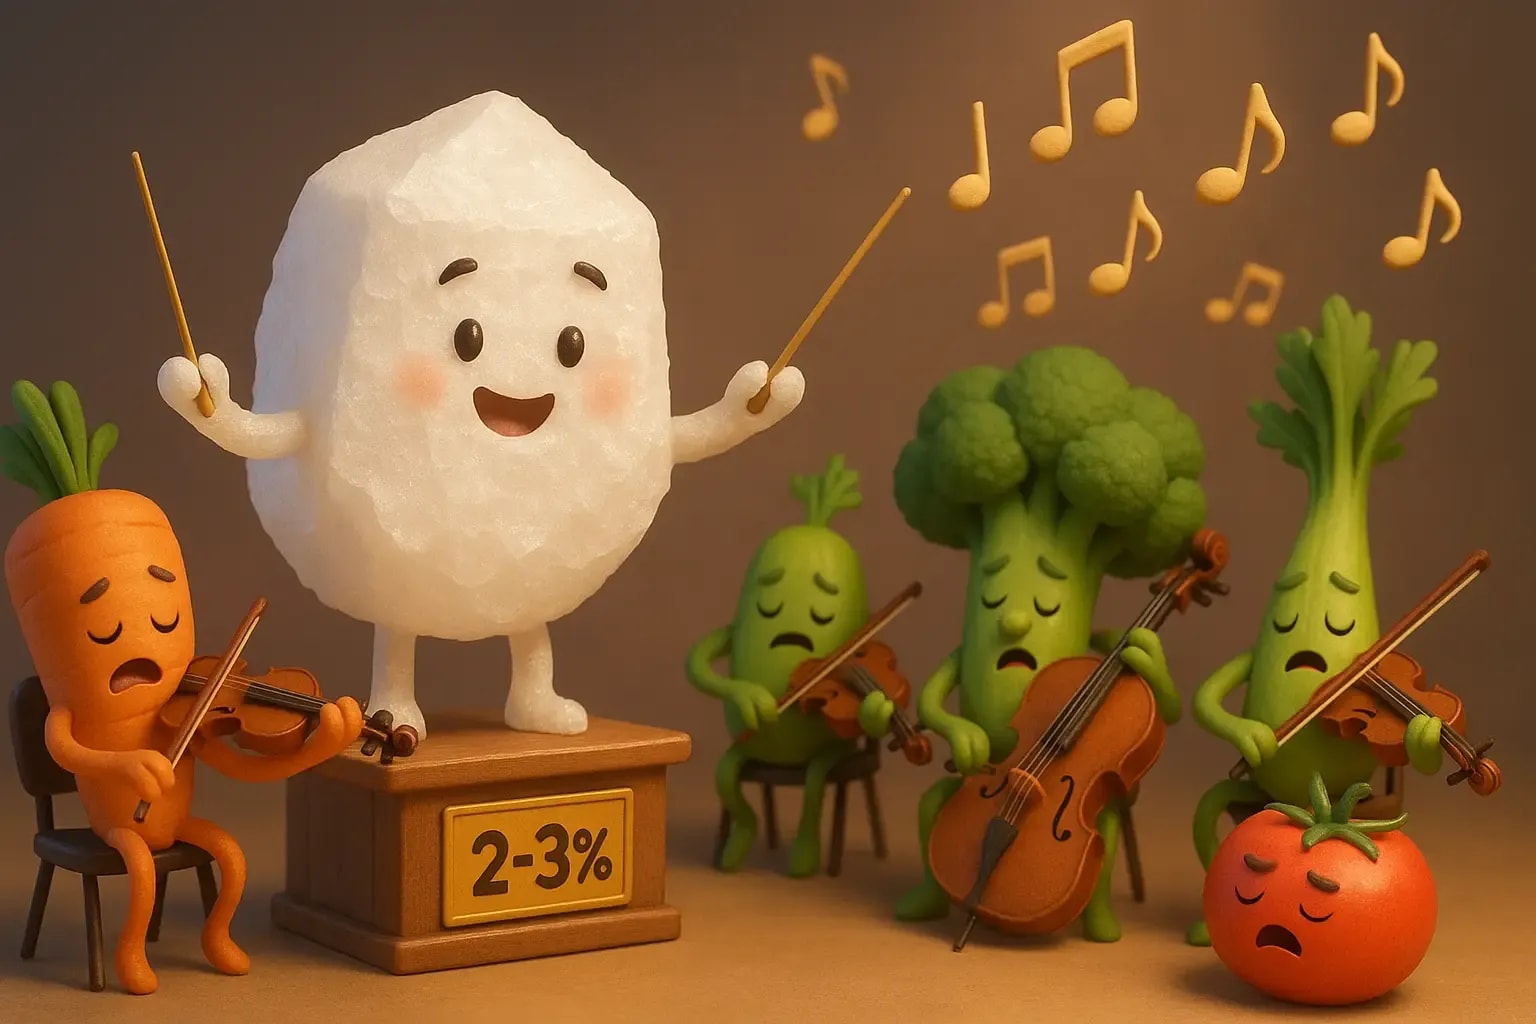
The Problem: Salt creates the perfect environment for good bacteria while inhibiting harmful ones. Too much or too little disrupts this balance.
Optimal salt ratios:
- Dry salting vegetables: about 2-2.5% salt by weight (roughly 1-1.5 teaspoons of fine salt per pound — or better, weigh it at 2-2.5% of the vegetable weight)
- Brine fermentation: 2-3.5% salt solution (2 tablespoons per quart of water)
The Fix:
- Use a kitchen scale for accurate measurements (the Greater Goods High Capacity Kitchen Scale or OXO Good Grips Food Scale are perfect for precise salt measurements)
- Choose non-iodized salt (sea salt, kosher salt, or pickling salt)
- Taste your brine—it should taste like pleasant seawater, not the ocean
3. Chlorinated Tap Water Killing Beneficial Bacteria

The Problem: Municipal water contains chlorine and chloramine. In practice this is a minor factor for salt-brine vegetable ferments (the bacteria come mostly from the vegetables themselves), but heavily chlorinated water can slow things down.
The Fix:
- Use filtered or spring water
- Let tap water sit uncovered for 24 hours to evaporate chlorine
- Let tap water sit out overnight, or use filtered/dechlorinated water (no need to boil for 20 minutes)
- Install a simple carbon filter on your tap
4. Low Natural Bacteria on Vegetables
The Problem: Modern farming and handling practices can reduce the natural Lactobacillus populations on vegetable surfaces.
Common causes:
- Irradiated produce
- Over-washed vegetables
- Old or imported vegetables
- Vegetables grown in sterile conditions
The Fix:
- Choose organic, locally-grown vegetables when possible
- Add a fermentation starter:
- 1 tablespoon of brine from a previous successful ferment
- 1 opened probiotic capsule
- Commercial vegetable starter culture
- Don't over-wash vegetables—a quick rinse is sufficient
5. pH Level Outside Fermentation Range
The Problem: Successful fermentation requires a starting pH between 6.0-7.0 that drops below 4.6 as fermentation progresses.
The Fix:
- Most fresh vegetables naturally have the right pH
- If needed, add 1 teaspoon raw apple cider vinegar per quart
- Use pH test strips to monitor (optional but helpful)
- Ensure vegetables are fresh and not pre-pickled
6. Insufficient Fermentable Sugars in Low-Carb Vegetables
The Problem: Some vegetables are naturally low in fermentable sugars, resulting in slower, less bubbly fermentation.
Some lower-sugar vegetables can ferment more slowly (cabbage is not one of them — it's a vigorous, bubbly ferment, so a quiet kraut usually means gas escaping through the packed leaves rather than low sugar):
- Cucumbers
- Green beans
- Cauliflower
Higher-sugar vegetables that bubble more:
- Beets
- Carrots
- Fruit-based ferments
The Fix:
- Be patient—low-sugar ferments work, just slowly
- Add 1 teaspoon sugar or honey per quart if desired
- Combine low and high-sugar vegetables
7. Improper Fermentation Vessel or Lid Setup
The Problem: CO2 needs the right escape route. Too tight = no visible bubbles. Too loose = CO2 escapes invisibly.
The Fix:
- Use fermentation lids with airlocks (like the Brillenti Easy Grip Fermenting Lids Kit which includes a handy pump)
- Or cover with coffee filter/cheesecloth secured with rubber band
- Leave 1-2 inches headspace in jars (the Paksh Novelty Wide Mouth Mason Jars are ideal sizes)
- Ensure vegetables stay submerged under brine using fermentation weights (MasonTops Pickle Pebbles or Topzea Glass Weights work perfectly)
Signs of Successful Fermentation (Even Without Bubbles)
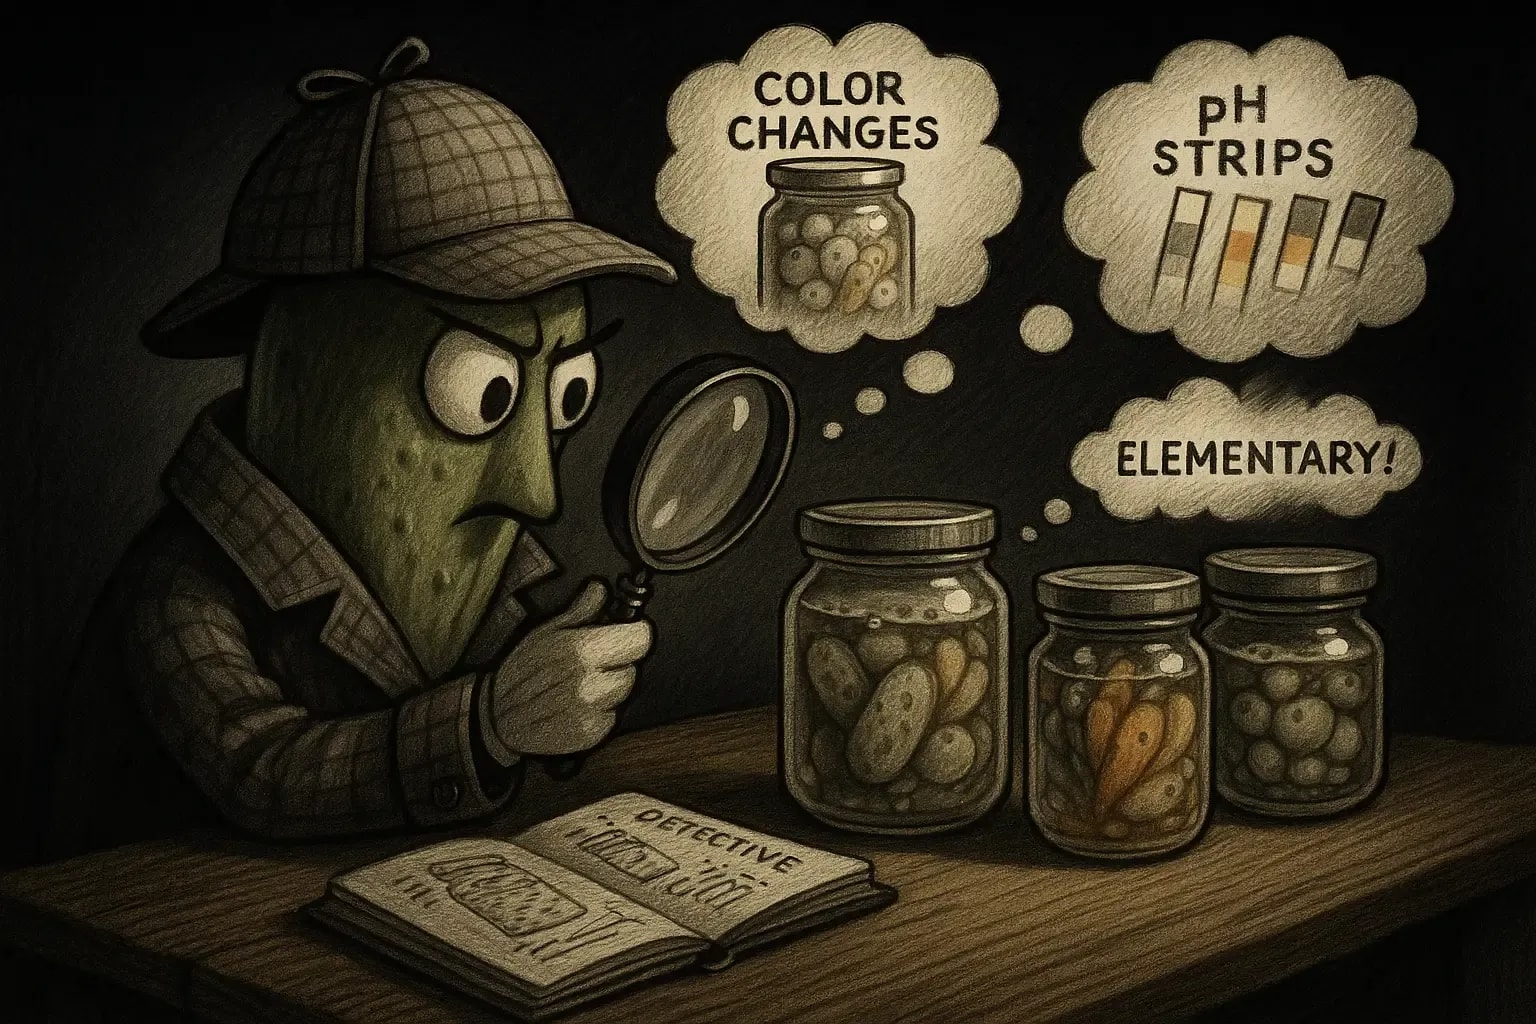
Don't rely solely on bubbles! Look for these reliable fermentation indicators:
1. Taste Development
- Tangy, pleasantly sour flavor developing over time
- Start tasting after day 3-4
2. Aroma Changes
- Sour, pickle-like smell (good!)
- Different from spoilage odors (bad)
3. Visual Changes
- Cloudy brine = active fermentation
- Color changes (cabbage becomes translucent)
- Slight softening while maintaining crunch
4. pH Drop
- Starting pH: 6.0-7.0
- Successful ferment: below 4.6
- Use pH strips to verify
When to Worry: Red Flags in Fermentation
While no bubbles usually isn't concerning, discard your ferment if you notice:
- Fuzzy mold (any color) - different from harmless white kahm yeast
- Foul, putrid odors - trust your nose
- Slimy, mushy texture - beyond normal softening
- Pink discoloration on vegetables that shouldn't be pink
- Black or green spots anywhere in the jar
Step-by-Step Fermentation Troubleshooting Guide
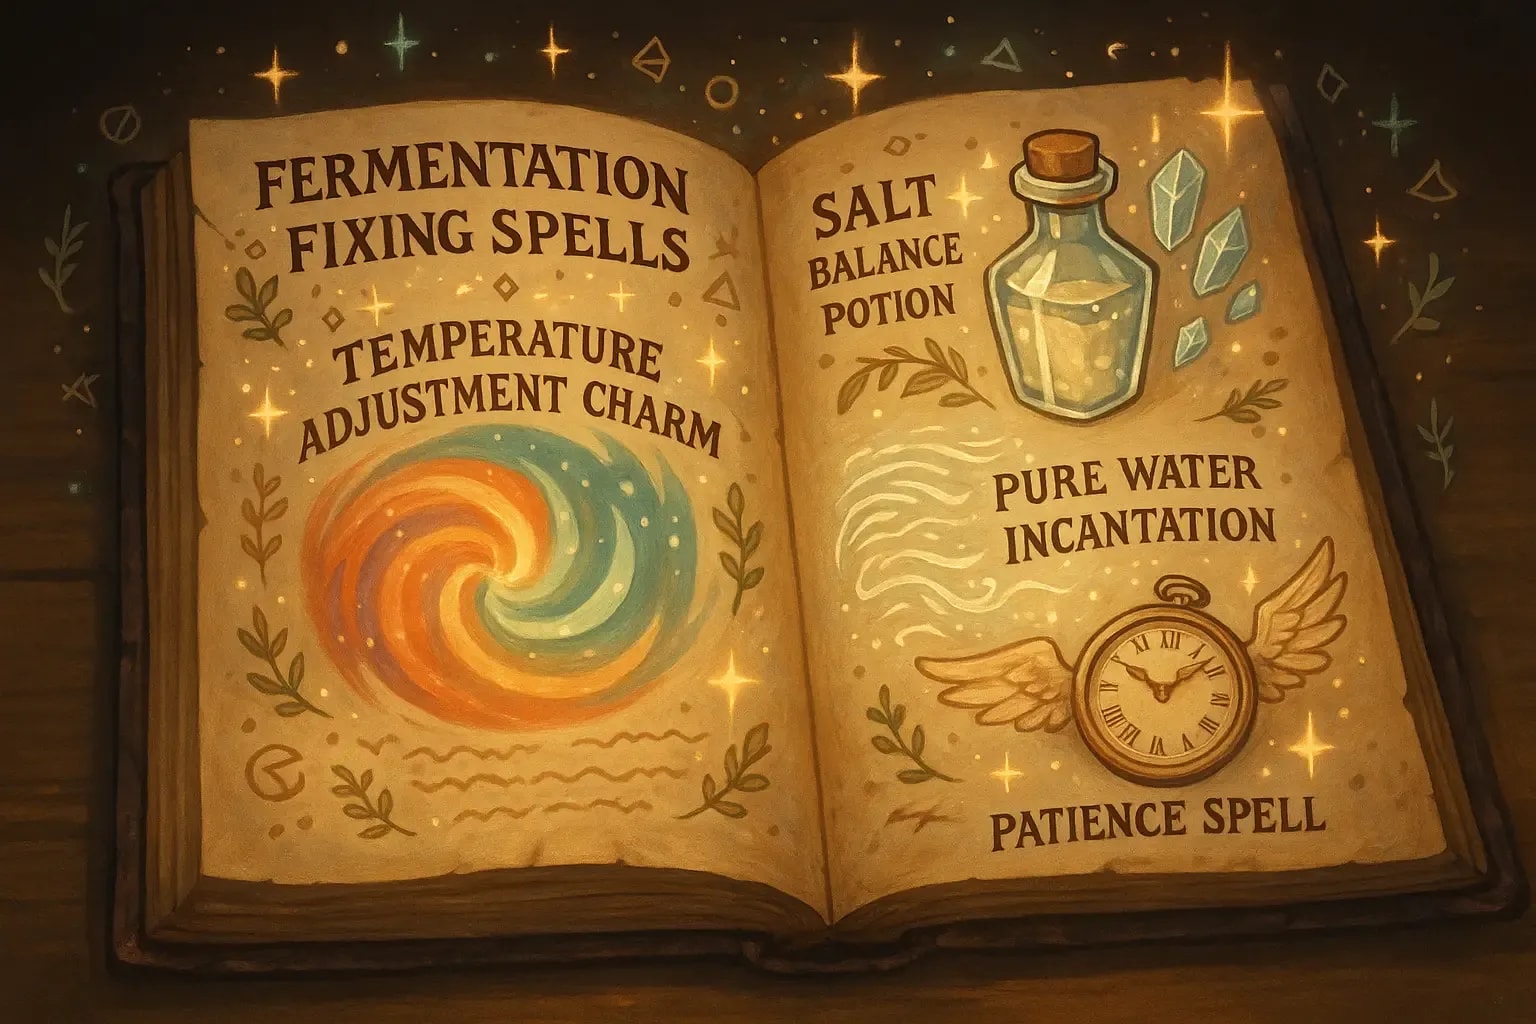
Day 1-3: Early Stage
- Check temperature - Move to 68-75°F location
- Verify salt levels - Should taste like pleasant seawater
- Ensure proper coverage - Vegetables under brine
- Be patient - Bubbling often starts day 2-3
Day 4-7: Active Fermentation
- Taste daily - Look for developing tanginess
- Check for other signs - Cloudy brine, aroma changes
- Don't disturb unnecessarily - Observation is enough
- Continue even without bubbles - Trust the process
Day 7+: Maturation
- Rely on taste - Your best fermentation guide
- Move to cold storage - When desired flavor reached
- Bubbling naturally decreases - This is normal
- Can ferment 2-4 weeks - For deeper flavors
Expert Tips for Consistent Fermentation Success
- Keep a fermentation log - Track what works in your environment
- Start with proven recipes - Sauerkraut and pickled cucumbers are beginner-friendly
- Buy quality ingredients - Fresh, organic vegetables ferment best
- Maintain cleanliness - Clean equipment, but don't sterilize
- Trust the process - Fermentation is forgiving and ancient
- Consider investing in proper equipment - While not essential, quality fermentation vessels like the E-Jen 1.3 Gallon Container for smaller batches can improve consistency and make the process easier
The Bottom Line: Don't Judge Fermentation by Bubbles Alone
Remember: Bubbling is just one sign of fermentation activity. Many factors affect visible CO2 production, and lack of bubbles doesn't equal fermentation failure. Focus on creating optimal conditions—proper temperature, salt concentration, and time—then let beneficial bacteria work their magic.
After thousands of years of human fermentation without modern tools, you can trust this ancient process. Use your senses, be patient, and soon you'll develop an intuition that goes beyond watching for bubbles.
Ready to Master Fermentation?
Now that you understand why ferments might not bubble and how to ensure success regardless, you're equipped to create delicious, probiotic-rich foods with confidence. Each batch teaches valuable lessons, and even "failed" ferments provide learning opportunities.
Your next steps:
- Check your current ferment using this guide
- Adjust any factors that might be inhibiting fermentation
- Trust your senses over visible bubbles
- Enjoy the journey of creating living, healthful foods