

#The Salt Ratio Mystery That Nearly Ruined My Ferments
Have you ever watched a beautiful batch of vegetables turn to mush because you didn't quite get the salt right? I've been there. It took me a little while to catch the grip on this, and a few ferments that went bad—too little salt in too hot of weather—but eventually, you'll get it too.
Here's the thing about salt ratios: they're not arbitrary numbers that fermentation snobs made up to make things complicated. They're actually the key to creating an environment where the good bacteria thrive and the bad ones don't stand a chance. And once you understand the simple math behind it, you'll never have to guess again.
In this guide, we're going to demystify salt ratios completely. You'll learn the exact percentages for different types of ferments, when to adjust them, and how to calculate them without a chemistry degree. Whether you're making your first batch of lacto-fermented pickles or experimenting with vegan kimchi, you'll have the confidence to get it right every time.
#Key Takeaways
- All-purpose salt ratio: Start most vegetable ferments at 2-2.5% salt by weight, the safe middle zone that works across most temperatures.
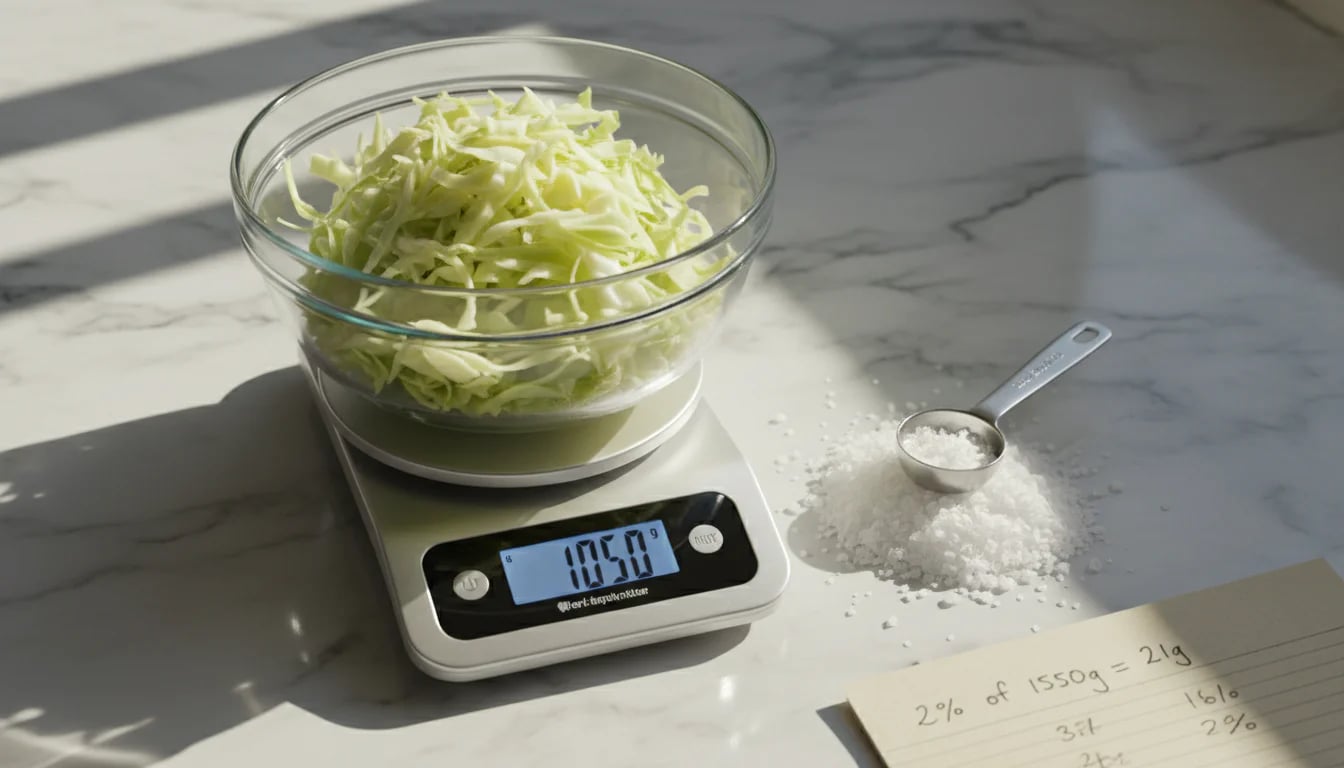
- The math: Multiply your ingredient weight by the percentage as a decimal, so 1000g of vegetables at 2% needs 20g of salt.
- Weight vs. water: Percentage means salt by weight of the vegetables for dry-salting, or the weight of water for brine ferments.
- Adjust for heat: In hot weather above 75°F/24°C, bump salt to the higher end (2.5-3%) so good bacteria establish before spoilage sets in.
- Safety guardrails: Never go below 1.5% salt, and anything above 5% will likely halt fermentation entirely.
#Why Salt Ratios Matter More Than You Think
Salt isn't just a flavoring agent in fermentation—it's the conductor of an entire microbial orchestra. When you add the right amount of salt to your vegetables, you're creating a selective environment that favors beneficial Lactobacillus bacteria while inhibiting the growth of harmful microorganisms.
Research on lacto-fermentation shows that salt concentration directly affects which bacteria dominate your ferment. Too little salt, and you risk allowing unwanted bacteria, yeasts, or molds to take over before the good guys can establish themselves. Too much salt, and you'll slow down or even halt the fermentation process entirely.
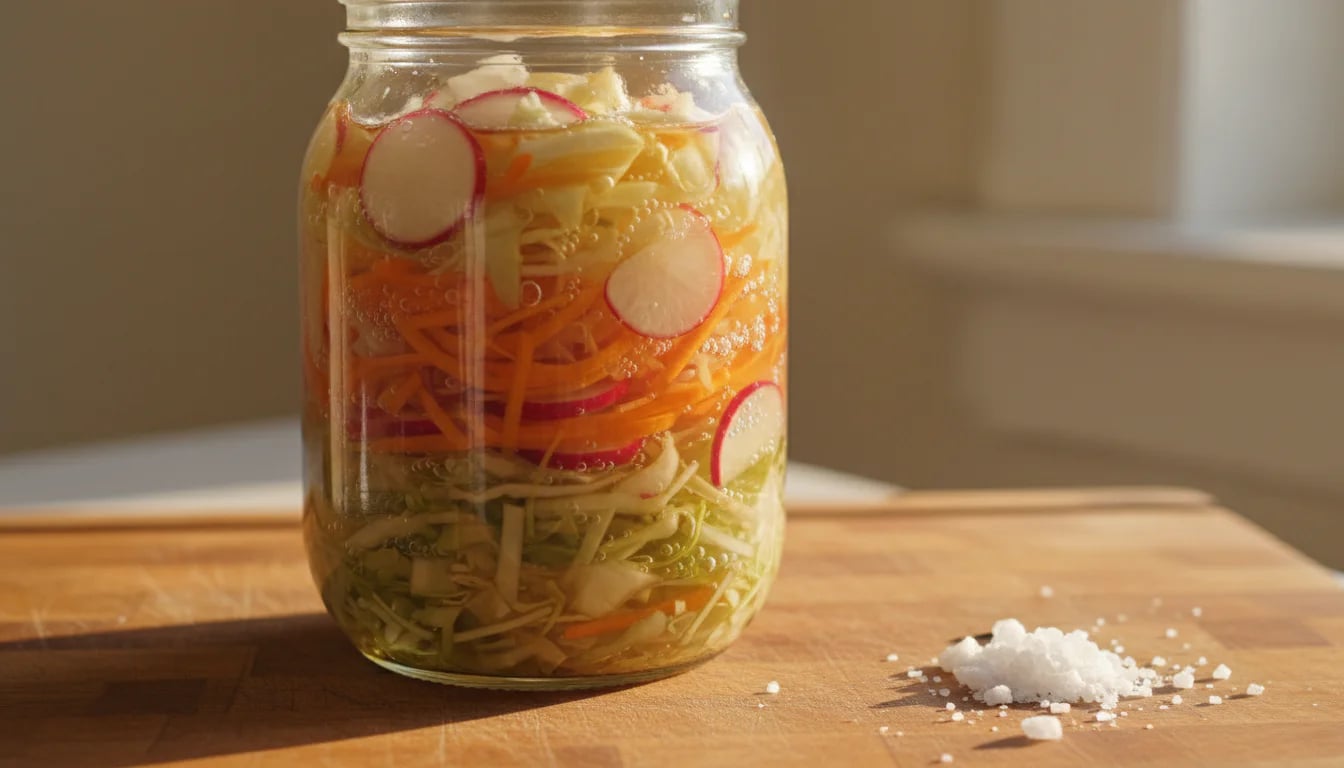
Here's what happens at the cellular level: salt draws moisture out of vegetables through osmosis, creating a brine where lactic acid bacteria can thrive. As fermentation progresses, the bacteria produce lactic acid and the brine turns increasingly acidic — and it's that acidity (a pH at or below 4.6, dropping to around 3.5 in finished kraut) that actually preserves your vegetables and keeps harmful microbes out. Salt's real job is to get that process started safely: it selects for the good bacteria, draws out water to make the brine, and keeps things crisp.
#The Three Salt Ratio Categories
Most vegetable ferments fall into three categories:
Light Ferments (1.5-2% salt): These ferment quickly and have a milder, fresher flavor. Perfect for delicate vegetables or when you want a shorter fermentation time. Think quick pickles or golden beet and orange ferment.
Standard Ferments (~2-2.5% salt): The sweet spot for most fermented vegetables. One important distinction: for dry-salted ferments like sauerkraut and kimchi that's a percentage of the vegetable weight, while for brine ferments like dill pickles salt is measured against the water weight (and cucumbers usually run higher, ~3.5-5%).
Heavy Ferments (3-5% salt): Used for longer-term storage, very hot climates, or vegetables with higher water content. These ferment more slowly but develop complex, deeply savory flavors over time.
The percentage refers to salt by weight relative to the total weight of vegetables (for dry-salting) or the total weight of water (for brine ferments). Don't worry—we'll break down the math in a moment.
#The Simple Math: Calculating Your Salt Ratio
Let's make this practical. You don't need to be a mathematician—just follow these simple formulas.
#For Dry-Salting (Sauerkraut, Kimchi)
This method is used when vegetables release enough moisture to create their own brine.
Formula: (Weight of vegetables) × (Desired percentage) = Salt needed
Example: You have 1000g (1kg) of cabbage and want a 2% salt ratio.
- 1000g × 0.02 = 20g of salt
That's it. Weigh your vegetables, multiply by your desired percentage (as a decimal), and you have your salt amount. A good digital kitchen scale is essential here—measuring by volume is far less accurate.
#For Brine Ferments (Pickles, Whole Vegetables)
This method is used when you're submerging vegetables in a prepared saltwater solution.
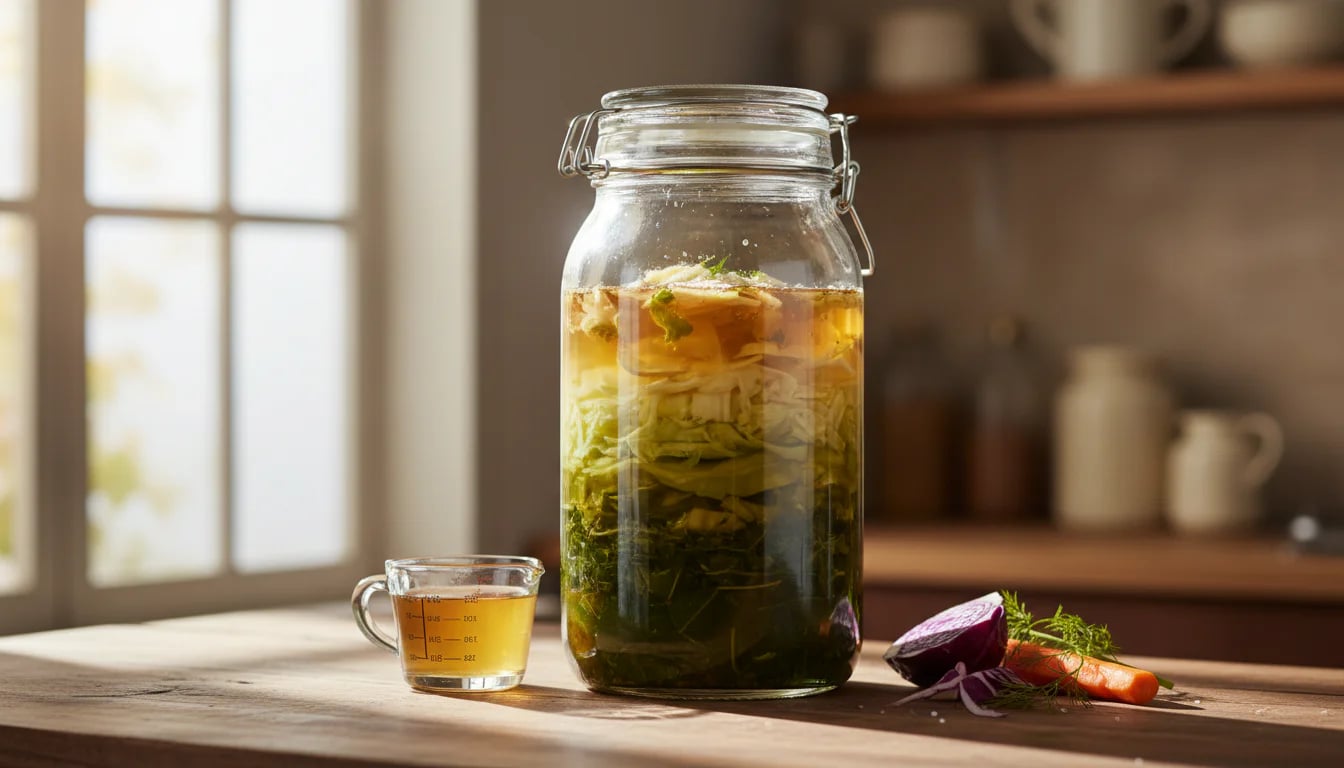
Formula: (Weight of water) × (Desired percentage) = Salt needed
Example: You're making a 3% brine with 1000g (1 liter) of water.
- 1000g × 0.03 = 30g of salt
Mix the salt into your water until fully dissolved, then pour over your vegetables in your fermentation crock or jar. Make sure vegetables are fully submerged using fermentation weights.
#Quick Reference Chart
Here's a handy chart for common batch sizes:
For 1kg (1000g) of vegetables (dry-salt method):
- 1.5% = 15g salt
- 2% = 20g salt
- 2.5% = 25g salt
- 3% = 30g salt
For 1L (1000g) of water (brine method):
- 2% = 20g salt
- 2.5% = 25g salt
- 3% = 30g salt
- 3.5% = 35g salt
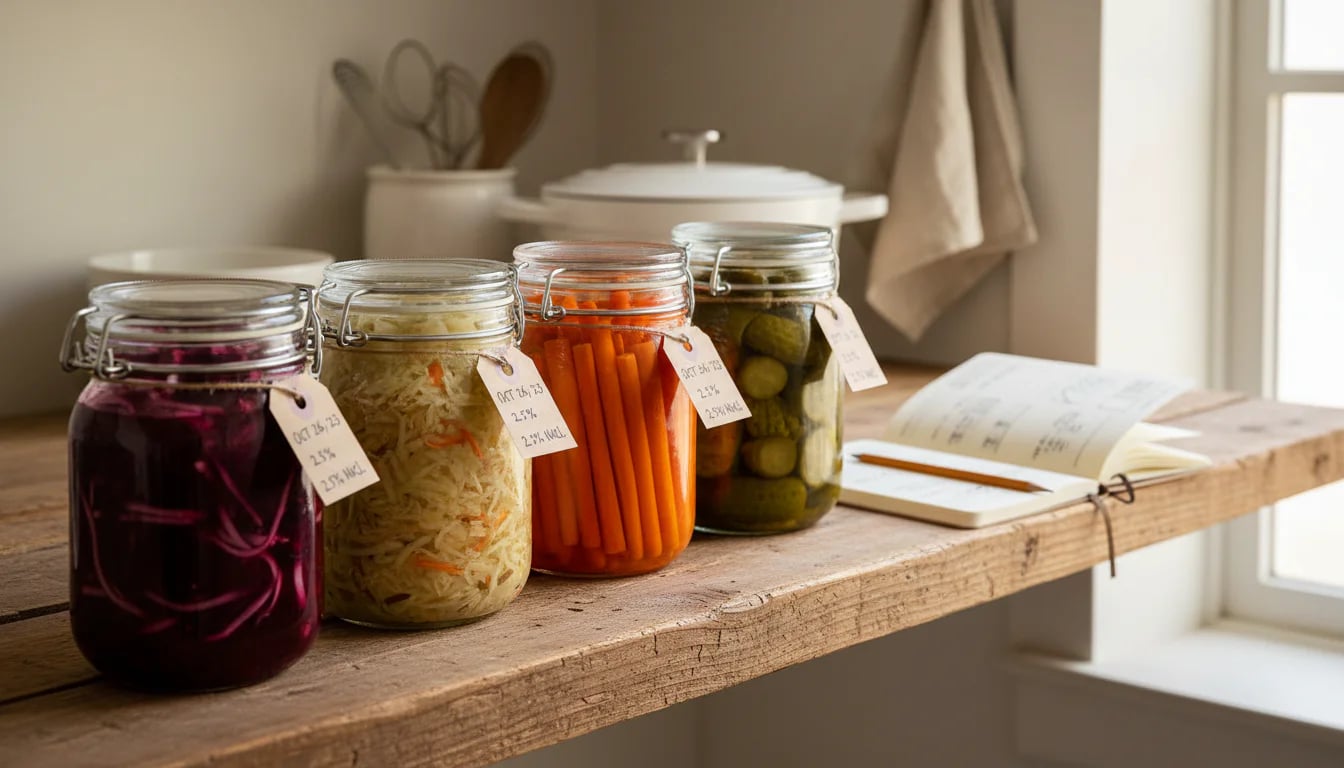
Pro tip: I keep a small notebook in my kitchen with these calculations written out for my most common batch sizes. After a few ferments, you'll have your favorites memorized.
#Choosing Your Salt Ratio: What to Consider
Now that you know how to calculate salt ratios, how do you choose the right percentage? Here are the factors that should guide your decision.
#Climate and Temperature
This is where my early mistakes taught me the most. Temperature dramatically affects fermentation speed, and salt is your temperature insurance policy.
Hot weather (above 75°F/24°C): A modest bump toward the higher end (around 2.5%) helps keep vegetables firm as they ferment faster. Don't overdo it, though — going too high (3%+) actually suppresses the good bacteria and can stall the ferment. The better move in heat is to cool the ferment (a shadier, cooler spot) rather than relying on extra salt. Check out our fermentation temperature guide for more details on managing temperature.
Moderate weather (65-75°F/18-24°C): The standard 2-2.5% works beautifully. This is the ideal fermentation temperature range where everything just works.
Cool weather (below 65°F/18°C): You can go lighter (1.5-2%) if you want faster fermentation, or stick with 2-2.5% for a slower, more controlled ferment with deeper flavor development.
I learned this the hard way during a particularly hot summer. My usual 2% sauerkraut turned slimy within days. Now, when temperatures climb, I automatically bump up to 2.5-3%, and I've never had that problem again.
#Vegetable Type and Water Content
High-water vegetables (cucumbers, zucchini, tomatoes): These are usually brine-fermented — use a stronger ~3.5-5% salt brine (measured against the water weight) for crisp results. These vegetables release a lot of liquid quickly, which can dilute your brine if you don't account for it.
Medium-water vegetables (cabbage, carrots, beets): The standard 2-2.5% is perfect. These are your fermentation workhorses.
Low-water vegetables (turnips, radishes): You can go as low as 1.5-2%, but you may need to add a bit of water to help the brine form.
#Desired Fermentation Speed
Want quick pickles ready in 3-5 days? Use 1.5-2% salt and keep them at room temperature. Planning a long ferment for complex flavor? Use 2.5-3% and give it 2-4 weeks.
Lower salt = faster fermentation = brighter, fresher flavors Higher salt = slower fermentation = deeper, more complex flavors
Neither is better—they're just different. I keep both quick ferments and long ferments going at the same time, depending on what I'm craving.
#Personal Taste Preferences
Some people are more salt-sensitive than others. If you find 2.5% ferments too salty for your taste, try 2%. If you love that deep, salty-sour punch, go for 2.5-3%. The beauty of understanding the ratios is that you can adjust them to your palate while still staying within the safe fermentation zone.
Just remember: never go below 1.5% for safety reasons, and anything above 5% will likely halt fermentation entirely.

#Common Salt Ratio Mistakes (And How to Fix Them)
Let's talk about what can go wrong—and more importantly, how to rescue your ferments.
#Mistake #1: Measuring Salt by Volume Instead of Weight
Different salts have different crystal sizes, which means different densities. A tablespoon of fine sea salt weighs significantly more than a tablespoon of coarse kosher salt. This is why recipes that call for "2 tablespoons of salt" are frustrating—which salt? Which tablespoon?
The fix: Always measure salt by weight using a digital scale. It's the only way to be precise. If you don't have a scale yet, invest in one—it's the single most important tool for consistent fermentation.
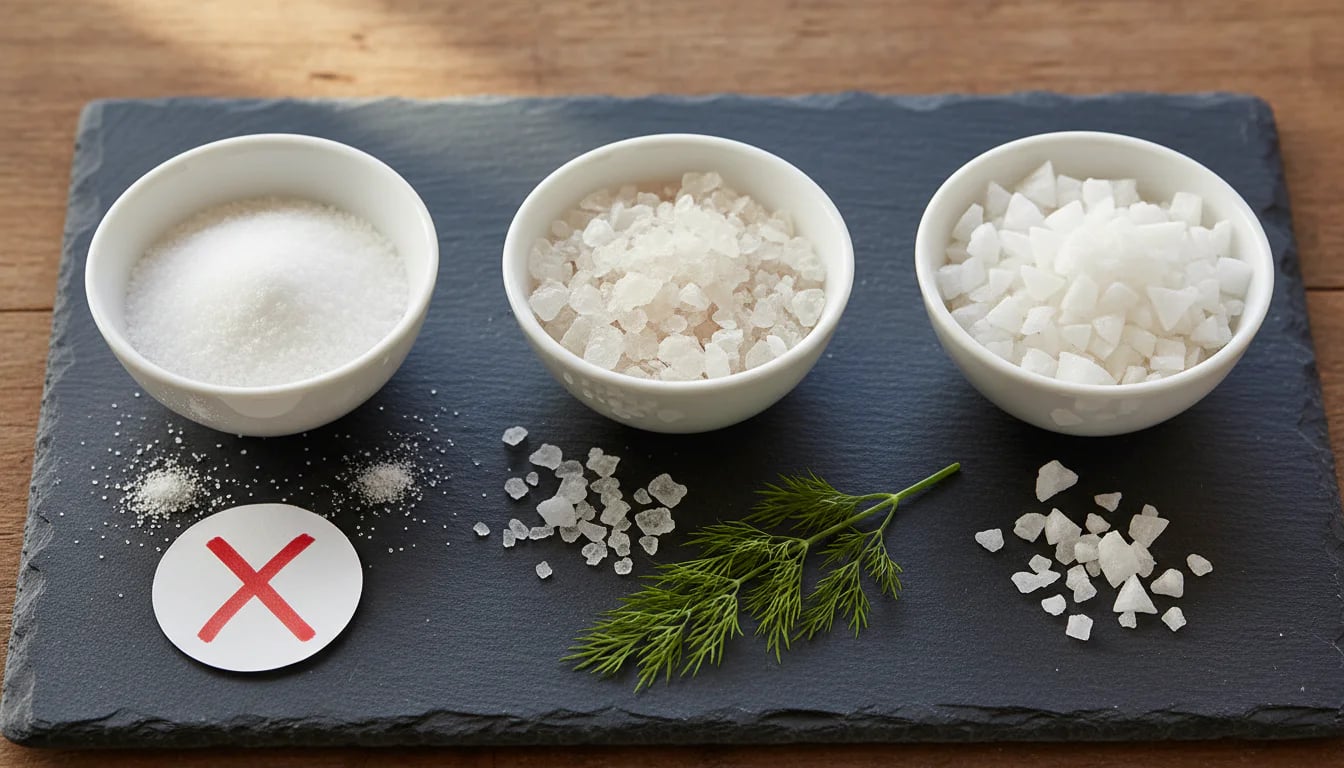
#Mistake #2: Using Iodized Table Salt
Anti-caking agents and additives in table salt can cloud your brine and create off-flavors — so use pure pickling or canning salt. (The old idea that iodine inhibits the fermentation bacteria is largely a myth: studies find iodized salt doesn't meaningfully slow the lactic-acid bacteria. It's the additives, not the iodine, that matter.)
The fix: Use pure sea salt, kosher salt (without additives), or Himalayan pink salt. Read the ingredients—it should say just "salt" and nothing else.
#Mistake #3: Not Accounting for Added Ingredients
When you add garlic, ginger, onions, or other aromatics to your ferment, they add weight but don't need additional salt calculated for them. Your salt ratio should be based on the main vegetable only.
The fix: Weigh your primary vegetable (cabbage, cucumbers, etc.), calculate salt based on that weight, then add your aromatics. They'll ferment happily in the brine created by the main vegetable.
#Mistake #4: Forgetting to Adjust for Climate
This was my biggest lesson. What works in spring might fail in summer.
The fix: Keep notes on your ferments. Record the date, temperature, salt ratio, and results. After a few batches, you'll see patterns and know exactly what works in your kitchen during different seasons.
#Mistake #5: Panicking When Brine Looks Low
Sometimes vegetables absorb brine during fermentation, or evaporation reduces the liquid level. This doesn't mean you need to add more salt.
The fix: If vegetables are exposed to air, make a small batch of brine at the same percentage as your original (if you used 2.5%, make a 2.5% brine) and top it off. Keep vegetables submerged with fermentation weights to prevent this issue.
#Advanced Tips: Fine-Tuning Your Fermentation Practice
Once you've mastered the basics, here are some advanced techniques to take your ferments to the next level.
#The Gradient Salt Method
Some traditional fermenters use a gradient approach: they start with a higher salt ratio (3%) for the first few days to establish a protective environment, then dilute it slightly by adding unsalted vegetables or a bit of water. This gives you the safety of higher salt initially with the faster fermentation of lower salt later.
I don't usually do this for simple ferments, but it's useful for experimental batches or when working with unfamiliar vegetables.
#Adjusting Salt for Altitude
Altitude doesn't require a specific salt adjustment — your salt percentage is set by the vegetable or water weight and the bacteria you're selecting for, not by atmospheric pressure. This is more art than science, so experiment and take notes.
#The Taste Test Method
Here's a trick from traditional fermenters: after mixing your salt and vegetables, taste the brine. It should taste pleasantly salty—like seawater—but not overwhelmingly so. If it makes you pucker, you've added too much. If you can barely taste the salt, add a bit more.
This isn't a replacement for weighing, but it's a good backup check, especially as you're learning what different percentages taste like.
#Using Salt Ratios for Mixed Ferments
When you're fermenting multiple vegetables together (like a beet horseradish ferment), calculate your salt based on the total weight of all vegetables combined. Weigh everything together, then calculate your salt percentage from that total.
#Fermentation Vessels and Salt Ratios
Your choice of vessel can affect how much brine you need. Traditional fermentation crocks with water-sealed lids are more forgiving because they maintain consistent humidity. Mason jars with airlock lids also work beautifully and prevent evaporation.
If you're using a simple jar with a cloth cover, you might need to check brine levels more frequently and top off as needed.
#My Personal Salt Ratio Philosophy
After years of fermenting and those early failures with too little salt in hot weather, I've settled into a simple approach that works for me.
My default ratio is 2.25% for almost everything. It's right in the middle of the safe zone, works in most temperatures, and produces ferments that taste balanced—not too salty, not too bland.
I bump up to 2.5-3% in summer or when I'm fermenting high-water vegetables like cucumbers. I drop down to 2% in winter when I want a quicker ferment or when I'm making something delicate like golden beet and orange ferment.
But here's the most important thing I've learned: consistency matters more than perfection. If you always use 2.5% salt, you'll learn exactly how your ferments behave at that ratio. You'll know how long they take, what they should smell like at different stages, and when they're ready. That knowledge is more valuable than constantly adjusting ratios trying to find some mythical "perfect" percentage.
Start with 2-2.5%, keep good notes, and adjust based on your results. Trust the process, trust the bacteria, and trust yourself. You'll develop an intuition for it—I promise.
#Troubleshooting: When Salt Ratios Go Wrong
#"My ferment is too salty!"
If your finished ferment tastes too salty, you have a few options:
- Rinse the vegetables briefly before eating (you'll lose some probiotics, but it's still nutritious)
- Mix salty ferments with fresh vegetables in salads
- Use them as a condiment in small amounts rather than eating them straight
- Next time, reduce your salt ratio by 0.25-0.5%
#"My ferment got slimy/moldy!"
First tell them apart: a flat, smooth white film is usually harmless kahm yeast — skim it and carry on, but fuzzy or colored (green, blue, black, pink) mold means discarding the whole batch. Sliminess usually points to too little salt or vegetables that weren't fully submerged. For your next batch:
- Increase salt by 0.5%
- Ensure vegetables stay below the brine using fermentation weights
- Check your temperature—if it's very hot, increase salt further
#"Nothing is happening—no bubbles, no sour smell!"
Your salt ratio might be too high, or your temperature too low:
- If using more than 3.5% salt, reduce to 2.5-3%
- Move your ferment to a warmer spot (ideal is 65-75°F)
- Be patient—some ferments take 3-5 days to show activity
#"My brine is cloudy!"
This is actually normal and good! Cloudy brine means active fermentation. The cloudiness is beneficial bacteria doing their job. As fermentation slows, the brine often clears again.
#Your Salt Ratio Toolkit: Essential Resources
To make your fermentation journey easier, here are the tools I recommend:
Essential:
- Digital kitchen scale (accurate to 1g)
- Pure sea salt or kosher salt (no additives)
- Fermentation weights to keep vegetables submerged
- Glass jars or a fermentation crock
Helpful:
- Airlock fermentation lids for hands-off fermenting
- Notebook for tracking batches and results
- Thermometer to monitor fermentation temperature
- Fermentation tamper for packing vegetables tightly
Nice to Have:
- Multiple vessels so you can run experiments side-by-side
- Reference books for inspiration and troubleshooting
- A fermentation buddy to share successes (and failures) with
The most important tool, though, is your willingness to experiment and learn. Every ferment teaches you something, even the ones that don't turn out perfectly.
#Conclusion: Trust the Salt, Trust the Process
Mastering salt ratios isn't about memorizing complicated formulas or achieving some impossible standard of perfection. It's about understanding the simple relationship between salt, water, and vegetables—and then using that knowledge to create an environment where beneficial bacteria can work their magic.
Start with 2-2.5% salt by weight. Adjust for your climate, your vegetables, and your taste preferences. Keep notes. Pay attention. And most importantly, don't let fear of getting it "wrong" stop you from trying.
Those early ferments I lost to too little salt in hot weather? They taught me more than any perfect batch ever could. They taught me to pay attention to temperature, to trust my instincts, and to adjust my approach based on conditions rather than blindly following a recipe.
You'll develop your own fermentation intuition too. You'll learn what 2.5% brine tastes like, what active fermentation smells like, and when your vegetables have reached that perfect tangy-crunchy sweet spot. And once you have that knowledge, you'll never need to guess again.
So grab your scale, your salt, and your vegetables. Calculate your ratio, trust the process, and let the transformation begin. The bacteria know what to do—you're just creating the conditions for them to thrive.
Happy fermenting, friends. May your brines be perfectly salted and your ferments forever bubbly.
#Tools for Nailing Your Salt Ratios
Accurate fermentation starts with accurate measuring. A digital scale takes the guesswork out of brine percentages, while airlock lids and weights keep your vegetables submerged and protected. (Affiliate links — they help keep this guide free.)


Recommended
Masontops Pickle Pipes – Airlock Fermentation Lids (Small Mouth, 4-Pack)

Recommended
TOPZEA Fermentation Glass Weights (9-Pack) for Wide Mouth Mason Jars


