#Key Takeaways
- Fermented hot sauce uses salt and beneficial bacteria to transform fresh chili peppers into a tangy, probiotic-rich condiment that's shelf-stable when pH drops below 4.6
- You only need three basic ingredients: fresh chili peppers (any variety), salt (2-3% by weight), and water—no special starter cultures required
- The fermentation process takes 7-14 days at room temperature, during which lactic acid bacteria naturally lower the pH and develop complex flavors
- Blending the fermented peppers with a bit of brine creates a smooth sauce; adding vinegar after fermentation ensures long-term shelf stability
- Different pepper varieties create unique flavor profiles—mix red and green chilies for depth, or stick to one type for a signature heat level
Have you ever found yourself staring at a pile of chili peppers, wondering what to do with them all? I know that feeling well.
#Why Ferment Hot Sauce Instead of Just Blending Peppers?
You might be wondering: why go through the fermentation process when you could just blend fresh peppers with vinegar and call it a day?
Here's what fermentation brings to the table that fresh hot sauce simply can't match. First, there's the flavor complexity—lacto-fermentation develops layers of tangy, umami-rich depth that vinegar alone can't replicate. The beneficial bacteria break down the peppers' natural sugars, creating lactic acid and hundreds of flavor compounds along the way.
Then there are the health benefits. Research has shown that consuming lactic acid bacteria can improve intestinal tract health, enhance the immune system, and synthesize nutrients. Your hot sauce becomes more than just a condiment—it's a probiotic powerhouse that you'll actually want to use daily.
And here's something that surprised me: fermented hot sauce is actually safer and more shelf-stable than you might think. Studies have found that shelf-stable hot sauces must have a pH below 4.6 to ensure food safety, and the fermentation process naturally achieves this through lactic acid production. The acidic environment created by beneficial bacteria actually protects against harmful pathogens.
#My Journey from Pepper Hoarder to Hot Sauce Maker
I love spicy food—really love it. I'm the person who adds chili peppers to everything: fermented carrots, cauliflower, pickles, you name it. But here's the thing about being a chili enthusiast: you tend to accumulate peppers faster than you can use them.
One day I opened my refrigerator and found myself staring at four different packs of chili peppers—some red, some green, each with its own unique flavor and heat level. I'd forgotten about half of them, and they were starting to look a bit sad.
That's when it hit me: why not ferment them into hot sauce? I was already fermenting vegetables all the time, so the process was familiar. But turning those peppers into a condiment I could drizzle on everything? That felt like unlocking a new level.
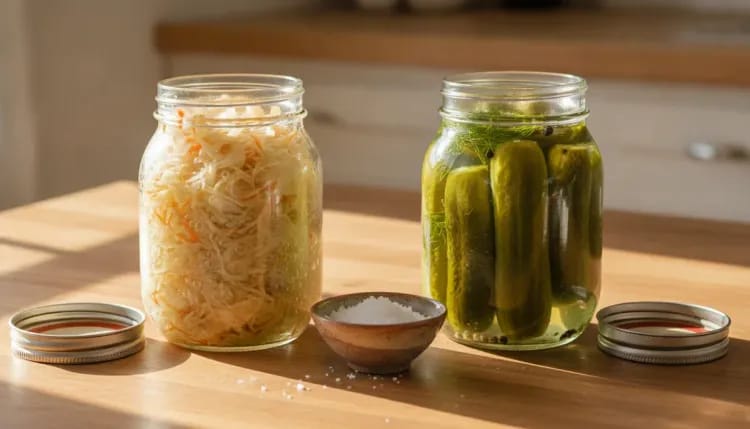
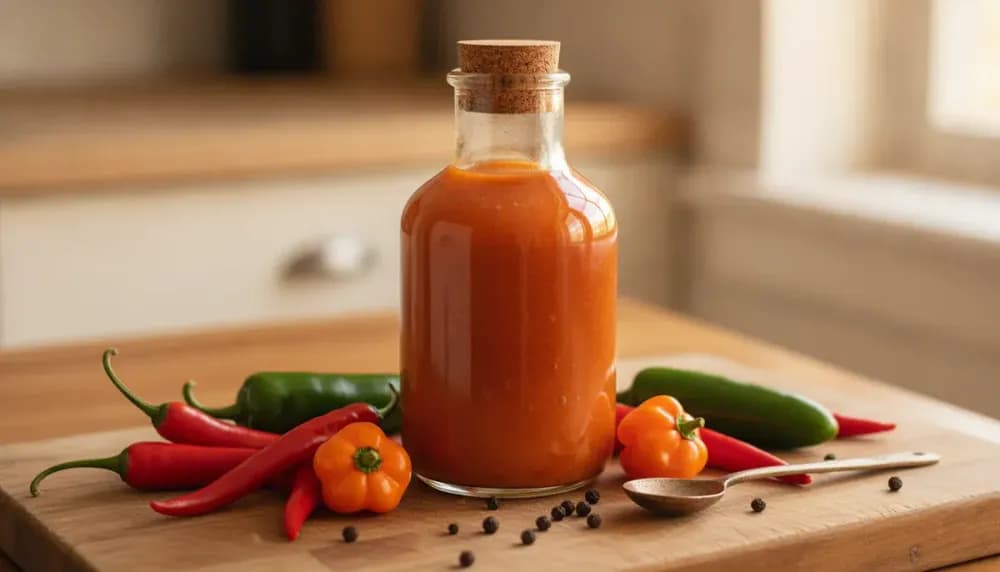
The first batch was a revelation. The green jalapeños brought grassy, bright notes. The red cayennes added fruity heat. Together, they created something far more interesting than any single-pepper sauce could be. And knowing that every spoonful was packed with the same beneficial bacteria as my beloved sauerkraut? That made it even better.
Now, whenever I spot chili peppers at the farmers market or grocery store, I don't hesitate. I know exactly what to do with them.
#What Equipment Do You Need?
The beautiful thing about making fermented hot sauce is that you probably already have most of what you need. Let's walk through the essentials.
#For Fermentation
You'll need a vessel to ferment your peppers in. Wide mouth mason jars are perfect for beginners—the 32 oz size gives you plenty of room for a good batch. If you're planning to make larger quantities, a fermentation crock with a water seal creates an ideal anaerobic environment.
To keep your peppers submerged under the brine (which is crucial for preventing mold), you'll want fermentation weights. These glass weights sit perfectly in mason jars and ensure everything stays safely below the liquid.
For the lid, you have options. You can use a regular jar lid loosely fastened (you'll need to "burp" it daily to release CO2), or invest in airlock fermentation lids that let gas escape automatically while keeping oxygen out. I find airlocks especially helpful if you're fermenting during a busy week and might forget to burp your jars.
#For Processing
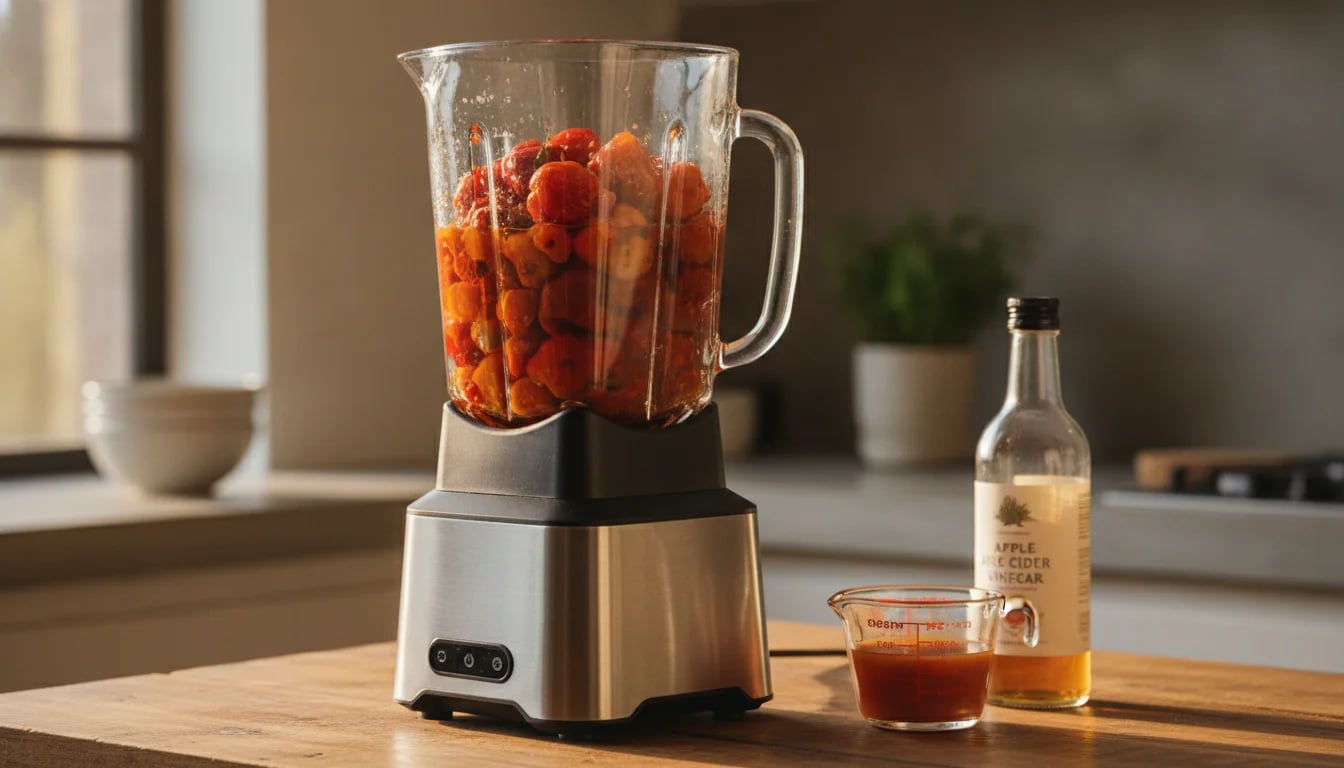
Once your peppers are fermented, you'll need to blend them into sauce. A food processor works beautifully for this—it gives you control over texture, whether you want a smooth Louisiana-style sauce or something chunkier. A regular blender works too, though you might need to add a bit more brine to get things moving.
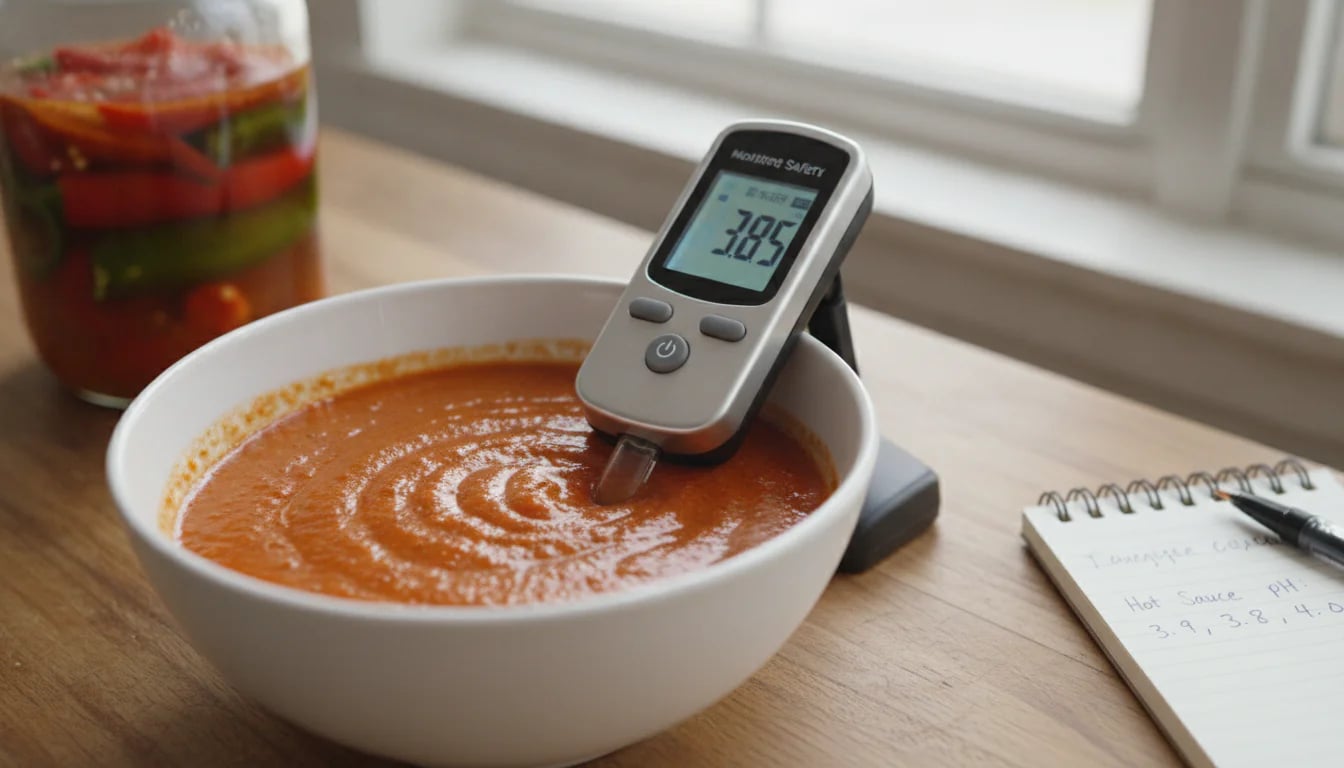
If you're serious about food safety (and you should be), a pH meter takes the guesswork out of knowing when your sauce is acidic enough to be shelf-stable. While not absolutely necessary for beginners, it's reassuring to see that number below 4.6.
#Nice to Have
A kitchen scale makes calculating your salt percentage much easier and more accurate than measuring by volume. And if you want to get really precise with your fermentation environment, understanding temperature control can help you achieve consistent results.
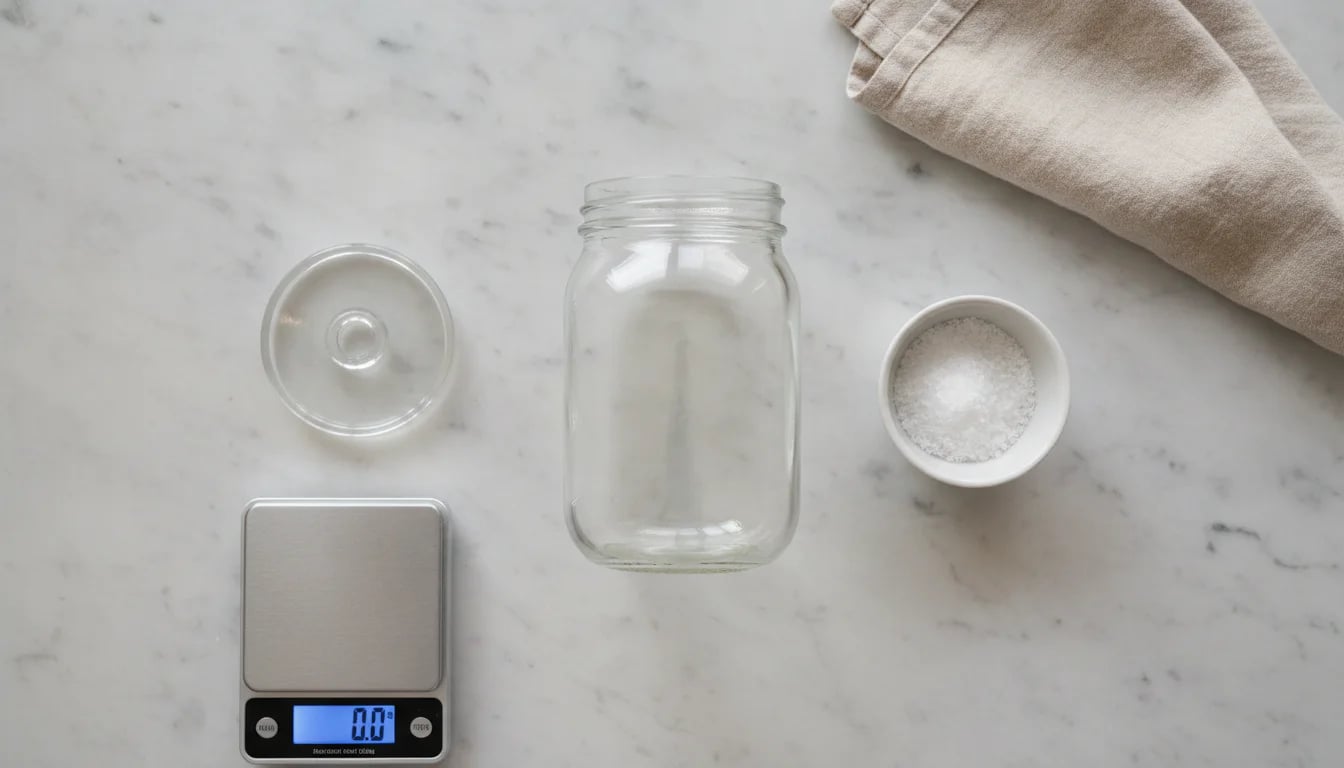
#The Basic Fermented Hot Sauce Formula
Here's the simple formula that works for any pepper variety:
Ingredients:
- Fresh chili peppers (any variety or mix)
- Salt at 2-3% of the total weight (peppers + water)
- Filtered or dechlorinated water
- Optional: garlic cloves, onion, or other aromatics
The Process:
-
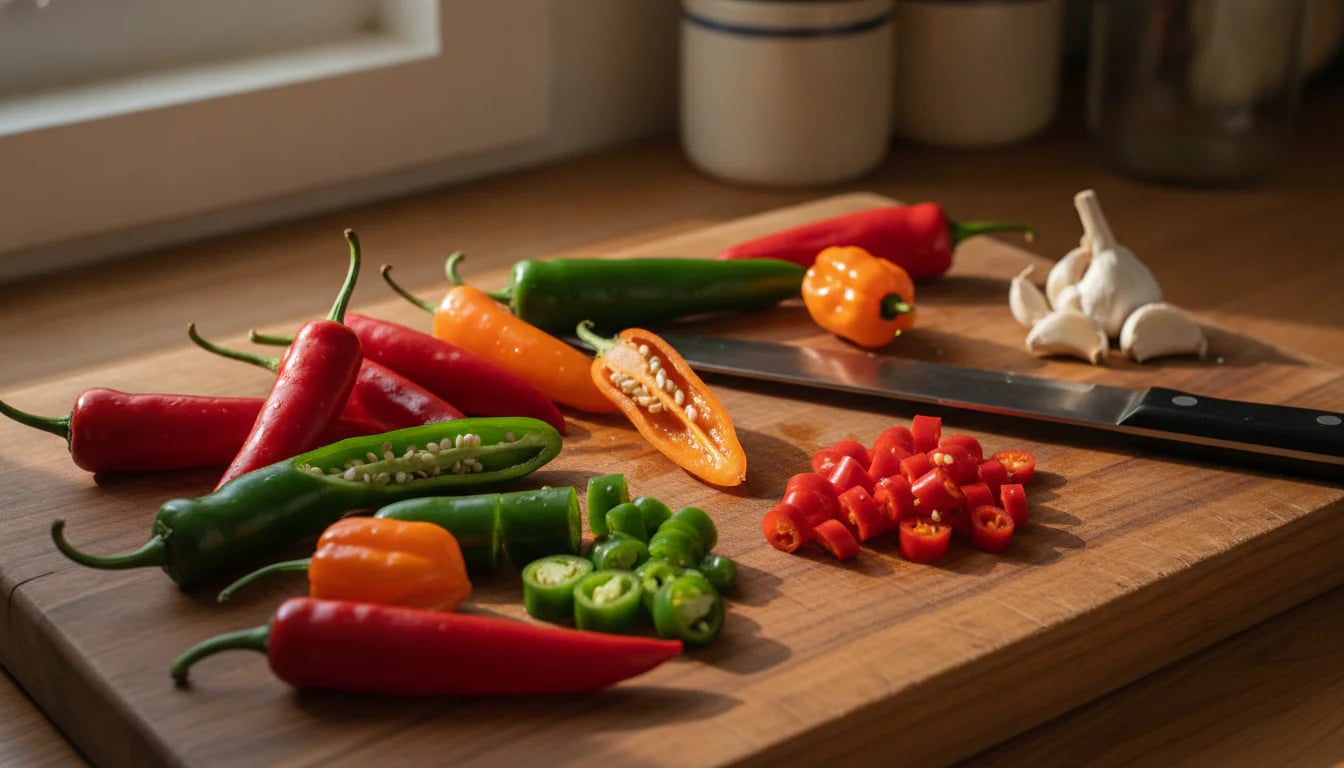
Prepare your peppers: Wash them thoroughly and remove stems. You can leave them whole, halve them, or roughly chop them—smaller pieces ferment faster. Wearing gloves is wise, especially with super-hot varieties.
-
Calculate your salt: Weigh your peppers and the water you'll need to cover them. Multiply the total weight by 0.025 (for 2.5% salt). This percentage is important—research indicates that using the right salt concentration with beneficial bacteria like L. plantarum favors proper pH decrease.
-
Make your brine: Dissolve the salt completely in your water. Some people prefer to pack peppers in a jar and pour brine over them; others mix everything together first. Both work—choose what feels easier.
-
Pack your jar: Add your peppers (and any aromatics) to your fermentation vessel. Pour the brine over everything, making sure all peppers are submerged. Leave about an inch of headspace at the top.
-
Weight and cover: Place your fermentation weight on top to keep everything submerged. Cover with your lid of choice—either an airlock lid or a regular lid loosely fastened.
-
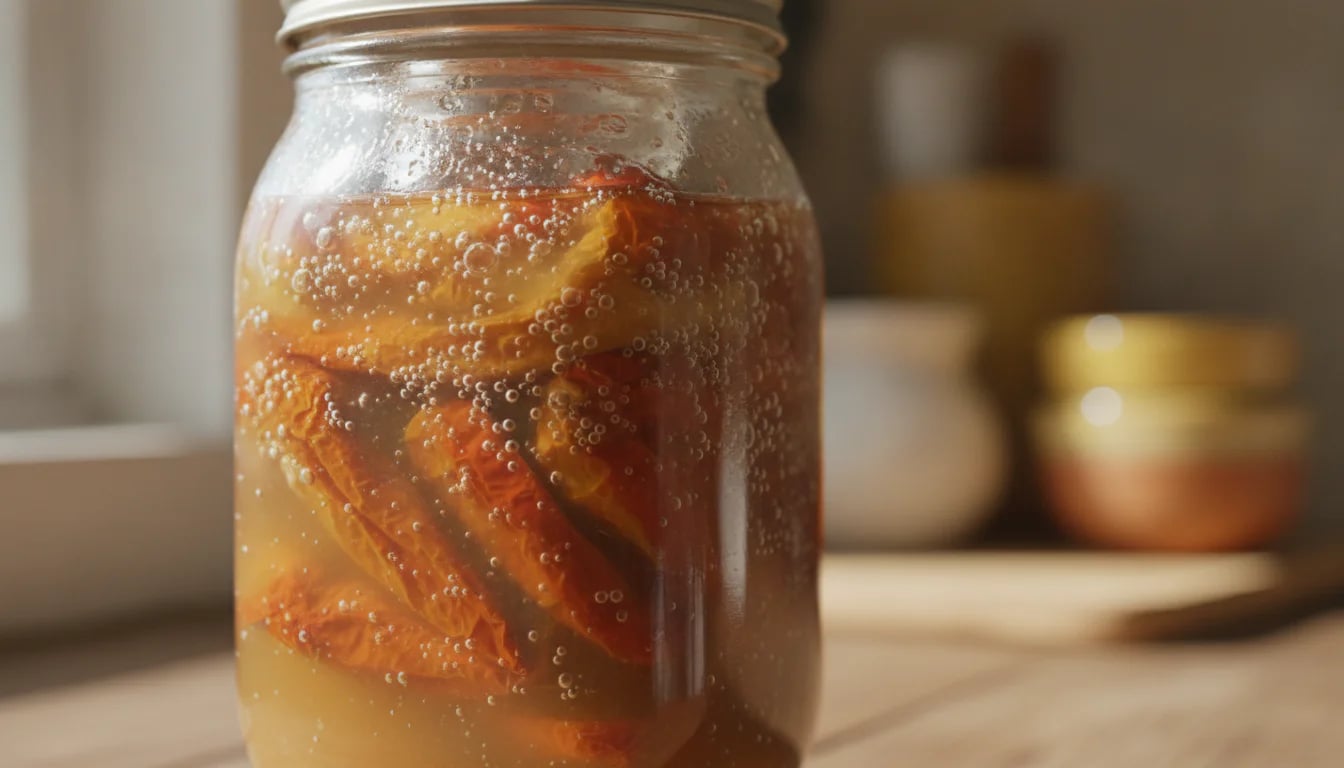
Ferment: Keep your jar at room temperature (65-75°F is ideal) away from direct sunlight. If using a regular lid, burp it daily to release built-up CO2. You'll see bubbles forming within 24-48 hours—that's the lactic acid bacteria getting to work.
-
Taste and wait: Start tasting after 7 days. The peppers should taste tangy and less "raw." Most hot sauces benefit from 10-14 days of fermentation, though you can go longer for more funk.
-
Blend: Once you're happy with the flavor, strain out the peppers (save that brine!). Blend the peppers with enough brine to reach your desired consistency. You can add vinegar at this stage for extra tang and shelf stability.
-
Bottle and store: Pour into clean bottles. If your pH is below 4.0, you can store it at room temperature. Otherwise, keep it refrigerated. It will continue to develop flavor over time.
Want to see this in action? Check out these tried-and-true recipes that walk you through specific pepper varieties and flavor profiles.
#How Do Different Peppers Change the Flavor?
This is where fermented hot sauce gets really fun—every pepper brings its own personality to the bottle.
Jalapeños (green or red) give you a bright, grassy heat that's approachable for most people. Green jalapeños taste fresher and more vegetal; red ones are sweeter and fruitier. They're perfect for everyday table sauce.
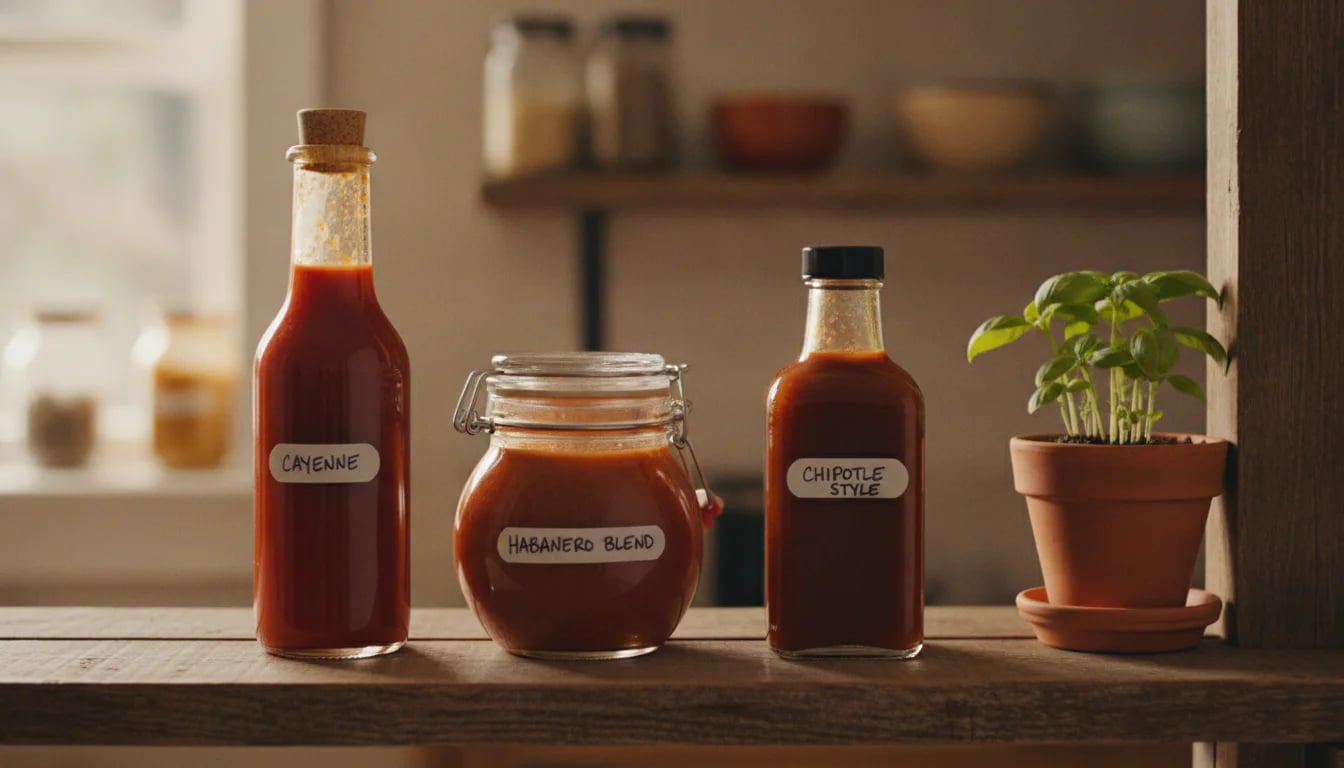
Cayenne peppers create that classic Louisiana-style heat—sharp, clean, and moderately spicy. They ferment beautifully and blend into a smooth, pourable sauce.
Habaneros bring serious heat along with fruity, almost tropical notes. A little goes a long way, so many people mix them with milder peppers for balance.
Serranos sit between jalapeños and cayennes in heat level, with a crisp, bright flavor that shines in green sauces.
Thai chilies pack concentrated heat in tiny packages. They're excellent for Asian-inspired fermented sauces.
Poblanos are mild and earthy—great for adding body and depth to a blend without overwhelming heat.
Here's what I've learned: mixing pepper varieties creates the most interesting sauces. Try combining sweet red peppers with spicy green ones, or balancing fruity habaneros with earthy poblanos. Each batch becomes a unique creation.
If you're already comfortable fermenting vegetables, you might enjoy experimenting with spicy fermented carrots and cauliflower or jalapeño dill pickles to see how peppers behave in different fermentation contexts.
#What's Actually Happening During Fermentation?
Understanding the science makes the process less mysterious and more controllable.
When you submerge peppers in salt brine, you create an environment where beneficial lactic acid bacteria thrive while harmful bacteria can't survive. These beneficial microbes—primarily Lactobacillus species—are naturally present on the pepper skins.
As they multiply, they consume the sugars in the peppers and produce lactic acid as a byproduct. This acid does several important things: it lowers the pH (making the environment increasingly acidic), it creates that characteristic tangy flavor, and it preserves the peppers by preventing spoilage.
Research on fermented peppers has shown that specific strains like P. pentosaceus and L. fermentum exhibit strong antibacterial activity against foodborne pathogens, actually making fermented peppers safer than fresh ones. The beneficial bacteria essentially crowd out anything harmful.
The bubbling you see is CO2 being released as the bacteria work. The cloudiness that develops in the brine is normal—it's a combination of bacteria, yeast, and pepper particles. The brine might also develop a white film on top (kahm yeast), which is harmless but should be skimmed off.
Temperature affects fermentation speed. Warmer temperatures (70-75°F) speed things up, while cooler temps (60-65°F) slow the process and can develop more complex flavors. If you want to dive deeper into how temperature affects your ferments, the fermentation temperature guide breaks it all down.
The salt percentage matters too. Understanding salt ratios helps you achieve consistent results—too little salt and you risk spoilage; too much and fermentation slows or stops entirely.
#How Do You Know When It's Done?
This is one of the most common questions, and honestly, there's no single "right" answer—it depends on your taste preferences.
That said, here are the signs that fermentation is progressing well:
Visual cues: Active bubbling in the first few days, cloudy brine, peppers that look slightly softer and less vibrant than when you started.
Smell: A pleasantly sour, tangy aroma—not rotten or putrid. If it smells like good pickles or sauerkraut, you're on track.
Taste: This is your best indicator. After 7 days, fish out a small piece of pepper and taste it. It should be tangy, less "raw" tasting, and have developed complexity. If it still tastes mostly like fresh pepper, give it more time.
pH: If you have a pH meter, you're looking for a reading below 4.6 for safety, and ideally below 4.0 for shelf stability. Research confirms that this pH level ensures food safety while avoiding the need for refrigeration.
Most hot sauce ferments hit their sweet spot between 10-14 days, but you can go longer if you want more funk and complexity. I've had batches go for a month that developed incredible depth.
Remember: fermentation is forgiving. As long as you've used enough salt, kept everything submerged, and don't see or smell obvious signs of spoilage (fuzzy mold, rotten smell), you're probably fine.
#Troubleshooting Common Issues
#No Bubbling After 48 Hours
This usually means your environment is too cold or your water was chlorinated (chlorine kills beneficial bacteria). Move the jar to a warmer spot and be patient. If nothing happens after 5 days, you might need to start over with dechlorinated water.
#White Film on Top (Kahm Yeast)
This harmless yeast looks like a white film on the brine surface. It won't hurt you, but it can affect flavor if left too long. Simply skim it off and make sure your peppers stay submerged. Using an airlock lid helps prevent this.
#Fuzzy Mold
Unlike kahm yeast, fuzzy mold (green, black, or pink) means something went wrong—usually peppers floating above the brine. Unfortunately, you should discard the batch and start over. This is why fermentation weights are so important.
#Too Salty
If your finished sauce tastes too salty, you can dilute it with a bit of water or vinegar when blending. You can also blend in some fresh peppers (though this will reduce the probiotic content and shelf stability).
#Not Tangy Enough
Give it more time, or add vinegar when blending. Some pepper varieties have less natural sugar, which means less lactic acid production.
#Sauce Separated After Bottling
This is normal! Just shake the bottle before using. If you want a more stable emulsion, you can add a tiny bit of xanthan gum when blending (start with 1/8 teaspoon per cup of sauce).
#Beyond Basic: Flavor Variations to Try
Once you've mastered the basic formula, the real fun begins. Here are some variations that have become favorites:
Smoky Chipotle Style: Add a few dried chipotle peppers to your fresh pepper ferment, or smoke your fresh peppers before fermenting (if you have a smoker or grill).
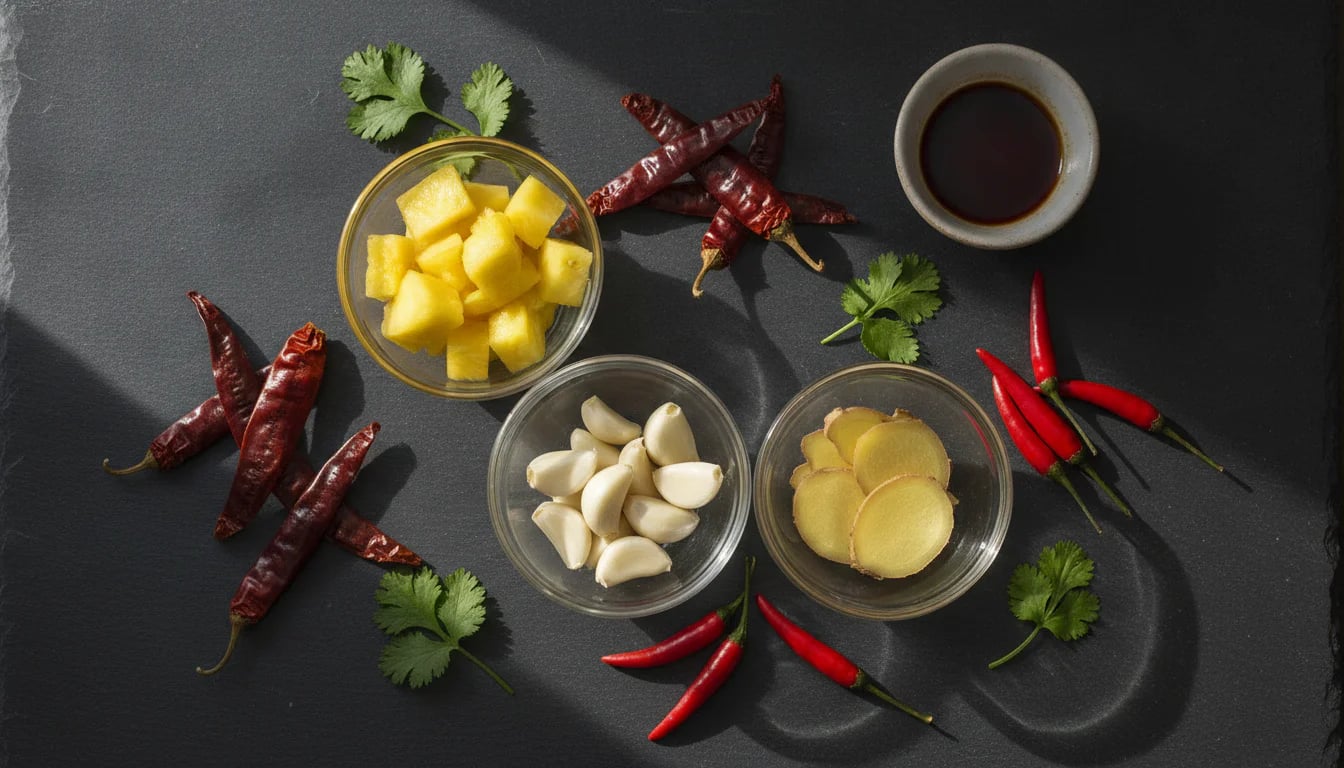
Tropical Heat: Ferment habaneros with chunks of fresh pineapple or mango. The fruit sugars feed the fermentation and create incredible fruity complexity.
Garlic Lover's: Add 4-6 cloves of garlic per pound of peppers. The garlic mellows during fermentation and adds wonderful depth.
Asian-Inspired: Use Thai chilies with ginger, garlic, and a splash of fish sauce added after fermentation. This creates something similar to fermented sriracha.
Mexican-Style: Try chile guajillo with cumin seeds and Mexican oregano for an earthy, complex sauce.
Herb Garden: Add fresh herbs like cilantro, basil, or oregano in the last few days of fermentation for bright, fresh notes.
Umami Bomb: Add a tablespoon of miso paste or a splash of soy sauce when blending for savory depth.
The key is to add most aromatics (garlic, onion, spices) during fermentation so they develop along with the peppers. Delicate herbs and finishing touches (vinegar, sweeteners, umami boosters) work better added after fermentation when blending.
#Food Safety: What You Need to Know
A note on health information: The information shared here is for educational purposes only and is not intended as medical advice. While fermented foods have been safely consumed for thousands of years, always use proper food safety practices and consult with a healthcare professional if you have specific health concerns or compromised immunity.
Let's address the elephant in the room: is fermented hot sauce safe?
The short answer is yes, when done properly. The combination of salt and lactic acid creates an environment that's hostile to harmful bacteria.
Research examining pathogenic bacteria in hot pepper sauces found that proper acidification effectively controls dangerous organisms like E. coli O157:H7, Salmonella, and Listeria. The key is achieving and maintaining a pH below 4.6.
Here's how to ferment safely:
Use enough salt: Don't go below 2% by weight. This creates the selective environment that favors beneficial bacteria.
Keep everything submerged: Exposure to air can allow mold to grow. Use weights and check daily.
Use clean equipment: You don't need to sterilize, but everything should be clean. Wash jars, weights, and utensils with hot soapy water.
Trust your senses: If something smells rotten (not just sour), looks fuzzy, or seems off, don't taste it. When in doubt, throw it out.
Consider pH testing: If you're planning to store your sauce at room temperature long-term, a pH meter gives you peace of mind.
Add vinegar for shelf stability: While fermentation alone can create a safe pH, adding vinegar when blending ensures long-term stability and gives you that classic hot sauce tang.
Studies on fermented peppers found no known human pathogens in properly fermented samples, suggesting negligible health risks under standard fermentation conditions. The beneficial bacteria actually make the final product safer than the raw ingredients.
That said, if you're immunocompromised, pregnant, or have specific health concerns, check with your healthcare provider before consuming home-fermented foods.
#The Health Benefits of Fermented Hot Sauce
Beyond the incredible flavor, fermented hot sauce offers genuine health benefits that vinegar-based sauces simply can't match.
Probiotic Power: Every spoonful contains millions of beneficial lactic acid bacteria. Research indicates that consuming these bacteria can improve intestinal tract health, enhance immune function, and increase nutrient bioavailability. Unlike probiotic supplements, you're getting these benefits in a delicious, food-based form.
Enhanced Nutrient Availability: The fermentation process breaks down plant cell walls, making nutrients more accessible. Studies have shown that lactic acid bacteria fermentation can retain over 93% of β-carotene in certain foods, and may even enhance the bioavailability of other nutrients.
Digestive Support: The lactic acid and enzymes produced during fermentation can aid digestion. Many people who struggle with raw vegetables find fermented versions easier to digest.
Immune System Benefits: Research on probiotic lactic acid bacteria shows they can boost and strengthen the human immune system, increasing resistance to disease conditions, with no reported side effects on human health.
Capsaicin Benefits: The capsaicin in chili peppers has its own health benefits, and fermentation doesn't diminish them. You're getting both the benefits of the peppers and the fermentation.
Gut-Brain Connection: Studies on LAB-fermented foods suggest they could represent a safe, inexpensive, and reliable tool in improving human health due to positive effects exerted by fermenting microorganisms and products of their metabolism.
Of course, hot sauce is typically consumed in small amounts, so you're not getting the same probiotic dose as you would from a bowl of sauerkraut. But every little bit contributes to a diverse, healthy gut microbiome—and it makes your food taste amazing in the process.
#Storage and Shelf Life
One of the beautiful things about fermented hot sauce is its longevity—properly made sauce can last for months or even years.
Refrigerated Storage: If you're not sure about your pH or prefer to play it safe, store your sauce in the refrigerator. It will easily last 6-12 months, often longer. The cold temperature slows fermentation but doesn't stop it entirely, so flavors will continue to develop slowly.
Room Temperature Storage: If your sauce has a pH below 4.0 (test with a pH meter) and you've added vinegar, you can store it at room temperature like commercial hot sauces. Keep it in a cool, dark place away from direct sunlight. Once opened, refrigeration extends shelf life.
Bottles Matter: Use clean glass bottles with tight-fitting lids. Swing-top bottles work great, as do repurposed hot sauce bottles (thoroughly cleaned). Avoid metal lids that can corrode from the acid—plastic-lined lids are better.
Signs of Spoilage: While rare in properly fermented sauce, watch for mold growth, off smells (rotten, not just funky), or dramatic color changes. A little separation is normal—just shake before using.
Flavor Evolution: Your sauce will continue to mellow and develop over time. The heat might seem to decrease slightly as flavors integrate. Some people prefer their sauce fresh and bright; others love the complexity that develops after a few months. Experiment to find your preference.
Freezing: You can freeze fermented hot sauce in ice cube trays for long-term storage, though this will kill the live probiotics. The flavor remains excellent, though.
#Your Hot Sauce Journey Starts Now
If you've made it this far, you have everything you need to transform those extra chili peppers into something truly special. The process is simpler than you might have thought, more forgiving than you feared, and more rewarding than you imagined.
Start with a basic batch—just peppers, salt, and water. Get comfortable with the rhythm of fermentation: the bubbling, the tangy aroma, the gradual transformation. Then start experimenting with different pepper varieties, aromatics, and flavor combinations.
Every batch teaches you something. You'll learn which peppers you prefer, how long you like to ferment, whether you want smooth or chunky sauce. You'll develop your own signature blend that friends start requesting.
And here's the best part: you'll never look at a pile of chili peppers the same way again. Instead of wondering what to do with them, you'll see bottles of future hot sauce, each one a unique expression of flavor and fermentation.
The beneficial bacteria are waiting on those pepper skins, ready to work their magic. All you have to do is give them the right environment—salt, time, and a little patience.
Your kitchen is about to get a lot more interesting.
Disclaimer: This article is for informational and educational purposes only. It is not intended to be a substitute for professional medical advice, diagnosis, or treatment. Individual results may vary. Please consult your healthcare provider before beginning any new dietary practice, especially if you have a medical condition or take medications. While fermented foods have been safely consumed for thousands of years, always follow proper food safety practices when fermenting at home.